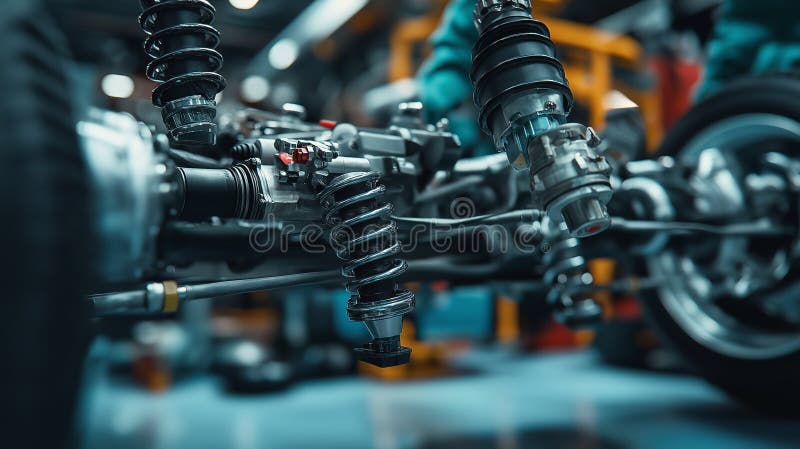
Data-Driven Suspension Setup: A Manufacturer's Guide to Dialing In Your Vehicle for Performance and Safety
How do you achieve the perfect suspension setup for your vehicle? The answer lies in a systematic, data-driven process that balances comfort and performance, tailored to your specific vehicle and riding conditions. This guide provides actionable steps for cars, motorcycles, and mountain bikes, emphasizing measurement and adjustment over guesswork.
Setting Sag: The Foundation of Your Setup
Question: Why does my vehicle handle poorly or bottom out? Often, it's incorrect sag.
Sag is the amount your suspension compresses under the vehicle's weight (static sag) and with you aboard (rider sag). Proper sag ensures full travel usage, maintains geometry, and keeps tires in contact with the ground.
Target sag ranges:
- Mountain bikes: 25-30% of fork travel for the front, 30-35% for the rear (e.g., 30mm sag on a 100mm fork).
- Motorcycles: 30-40mm rider sag for street bikes, 25-35mm for off-road (measured at rear axle).
- Cars: Set ride height and corner weights via coilover preload, aiming for 50/50 weight distribution and slight rake for stability.
How to measure and adjust:
- On level ground, measure from axle to a fixed frame point.
- With rider/driver in gear, measure again; the difference is sag.
- Adjust preload: turn ring/collar to increase or decrease spring tension. More preload reduces sag; less increases it.
Why it matters: Incorrect sag leads to poor handling, bottoming, or harsh ride. Set sag based on your weight and use, not generic recommendations. For instance, a heavier rider needs more preload for the same sag.
Rebound Damping: Stability and Traction
Question: Why does my vehicle bounce or feel harsh after bumps? Rebound damping is likely off.
Rebound controls how fast suspension extends after compression. Too much slows extension, causing packing over successive bumps; too little causes bouncing and traction loss.
Signs of incorrect rebound:
- Too much: Harsh feel, packs down, doesn't recover.
- Too little: Bounces or pogo-sticks after bumps, tires lose contact.
Step-by-step adjustment:
- Start with manufacturer settings.
- Find a consistent bump or rough surface.
- Ride over at moderate speed.
- Observe: If not settling quickly, increase rebound; if bouncing, decrease.
- Adjust in 1-2 clicks, retest until smooth.
Temperature note: Rebound feel changes with temperature; cold oil is thicker, so you may need less damping in winter.
Compression Damping: High-Speed vs. Low-Speed
Question: How do I stop bottoming out or excessive dive? Understand compression damping.
Compression controls how fast suspension compresses, divided into high-speed (shaft speed, not vehicle speed) and low-speed. Low-speed affects body motion like braking dive; high-speed affects sharp impacts like potholes or landings.
Effects:
- Low-speed: Too little causes dive under braking and squat under acceleration. Too much makes ride harsh over small bumps.
- High-speed: Too little causes bottoming on sharp impacts. Too much makes ride harsh over rough terrain.
Adjustment strategies:
- To reduce brake dive, increase low-speed compression.
- For plusher ride over rough terrain, decrease high-speed compression.
- For bottoming on big hits, increase high-speed compression.
Testing:
- Low-speed: Perform hard braking or cornering, observe body movement.
- High-speed: Ride over sharp-edged bump at speed.
- Adjust in small increments and retest.
Data-Driven Setup: Using Telemetry and Sensors
Question: How can I move beyond feel and use data to fine-tune my suspension?
Data removes guesswork. Tire temperature readings indicate suspension issues: if tire edges are hotter than center, you may have improper damping or alignment. Shock potentiometers measure suspension movement in real-time, showing travel usage and packing.
Using tire temperatures: After a ride, measure across tread with a probe. Consistent temps indicate proper contact; hot spots indicate misalignment or damping issues.
Shock potentiometers and accelerometers: These sensors record movement data, revealing bottoming, mid-stroke time, and packing. This data enables precise adjustments.
Telemetry in practice: Professional teams use telemetry; you can use a data logger. For example, if data shows 90% travel usage on a section, increase compression or preload.
Case example: A mountain biker bottoming out on drops but not smaller bumps used a shock potentiometer. Data showed full travel on drops but only 50% on smaller hits. Increasing high-speed compression by two clicks solved bottoming without harshness.
Common Setup Mistakes and How to Avoid Them
Question: What are the most frequent suspension setup errors and how can I prevent them?
- Setting sag incorrectly: Using generic settings instead of measuring for your weight.
- Ignoring rebound: Left at factory settings, but needs tuning for weight and style.
- Over-tightening compression: Causes harsh ride and reduces traction.
- Using generic settings: What works for one may not work for you.
- Neglecting maintenance: Worn oil, seals, or bushings alter damping.
Consequences: Poor handling, discomfort, safety issues. For example, too much rebound can cause packing, leading to loss of control.
Checklist:
- Measure sag for your weight.
- Set rebound based on test ride.
- Adjust compression in small increments.
- Keep a log of settings and changes.
- Inspect and maintain suspension regularly.
Troubleshooting guide:
- Excessive bouncing: Too little rebound. Increase rebound damping.
- Bottoming out: Too little compression or too soft spring. Increase compression or preload.
- Harsh ride: Too much compression or high-speed damping. Decrease compression.
Maintenance After Setup: Preserving Your Tuned Suspension
Question: How do I keep my suspension performing as tuned?
A tuned suspension is only as good as its maintenance. Worn oil, seals, or bushings change damping characteristics and negate your setup.
How wear affects setup: Oil degrades, losing viscosity; seals and bushings wear, introducing play and friction. This makes suspension feel different even with unchanged settings.
Maintenance schedule:
- Mountain bikes: Change fork oil every 50-100 hours or annually. Rebuild shock every 200 hours.
- Motorcycles: Change fork oil every 10,000-15,000 miles or annually. Rebuild shock every 2-3 years.
- Cars: Replace shock absorbers every 50,000-100,000 miles. Check bushings for wear.
Inspection tips:
- Look for oil leaks on shocks and forks.
- Check for play in bushings and bearings.
- Listen for clunking noises.
- Feel for excessive stiction or roughness in stroke.
Use correct fluids and tools: Always use manufacturer-recommended oil weight and tools. Wrong oil can drastically change damping.
Troubleshooting: Symptoms, Causes, and Fixes
Question: How can I quickly diagnose and fix common suspension issues?
Here's a quick-reference table:
| Symptom | Cause | Fix |
|---------|-------|-----|
| Bouncing | Too little rebound | Increase rebound damping |
| Bottoming out | Too little compression or too soft spring | Increase compression or preload |
| Harsh ride | Too much compression or high-speed damping | Decrease compression |
| Excessive dive under braking | Too little low-speed compression | Increase low-speed compression |
| Packing down | Too much rebound | Decrease rebound damping |
| Wandering or instability | Incorrect sag or worn components | Check sag and inspect components |
Important: Symptoms may have multiple causes. Bottoming could be due to too little compression, too soft spring, or too much rebound causing packing. Check systematically: sag, then rebound, then compression.
Decision tree for diagnosis:
- Does it bottom out? Check sag first. If correct, increase compression.
- Does it bounce? Check rebound. If correct, check for worn components.
- Is the ride harsh? Check compression. If correct, check for excessive stiction.
Conclusion: Continuous Refinement
Suspension setup is not a one-time task. As your weight changes, components wear, or you ride different terrain, revisit your settings. Use the data-driven approach to make informed adjustments. Keep a log of settings and how they feel. A well-maintained suspension preserves your setup. For quality replacement parts like control arms and bushings, check our [automotive suspension components](/products) to ensure your vehicle's suspension is in top condition.