Suspension Geometry Correction: A Practical Guide for Lifted and Lowered Vehicles
Suspension geometry correction is the process of restoring the angles and positions of suspension components—such as control arms, spindles, and links—to factory specifications after a vehicle's ride height has been altered. When you lift or lower a vehicle, you change the geometry, leading to poor handling, accelerated tire wear, and unpredictable steering. Correcting geometry is not optional; it's essential for safety and performance. This guide explains what geometry correction is, why it's necessary, and how to fix common issues like roll center and bump steer.
How Lifts and Lows Affect Suspension Geometry
Lowering: The Hidden Costs of a Drop
Lowering a vehicle drops the roll center—the point around which the chassis rolls during cornering. A lower roll center increases body roll and reduces grip. Bump steer—unwanted steering input when the suspension compresses—also increases because the tie rod angle changes relative to the control arms. The camber curve (how camber changes with suspension travel) is altered, often causing excessive negative camber during compression, which wears the inside edge of tires. Scrub radius—the distance between the tire's contact patch center and the steering axis—also changes, affecting steering feel and stability.
Lifting: The Off-Road Compromise
Lifting a vehicle raises the roll center, which can make it feel tippy and reduce articulation. Bump steer becomes problematic as steering linkage angles become more severe. Caster—the angle of the steering axis—often decreases, leading to vague steering and poor return-to-center. Camber gain (the rate of camber change) is also affected, potentially causing premature tire wear. The instant center—the point where control arm lines intersect—moves with ride height, altering suspension behavior under load.

Symptoms of Incorrect Geometry: What Your Car is Telling You
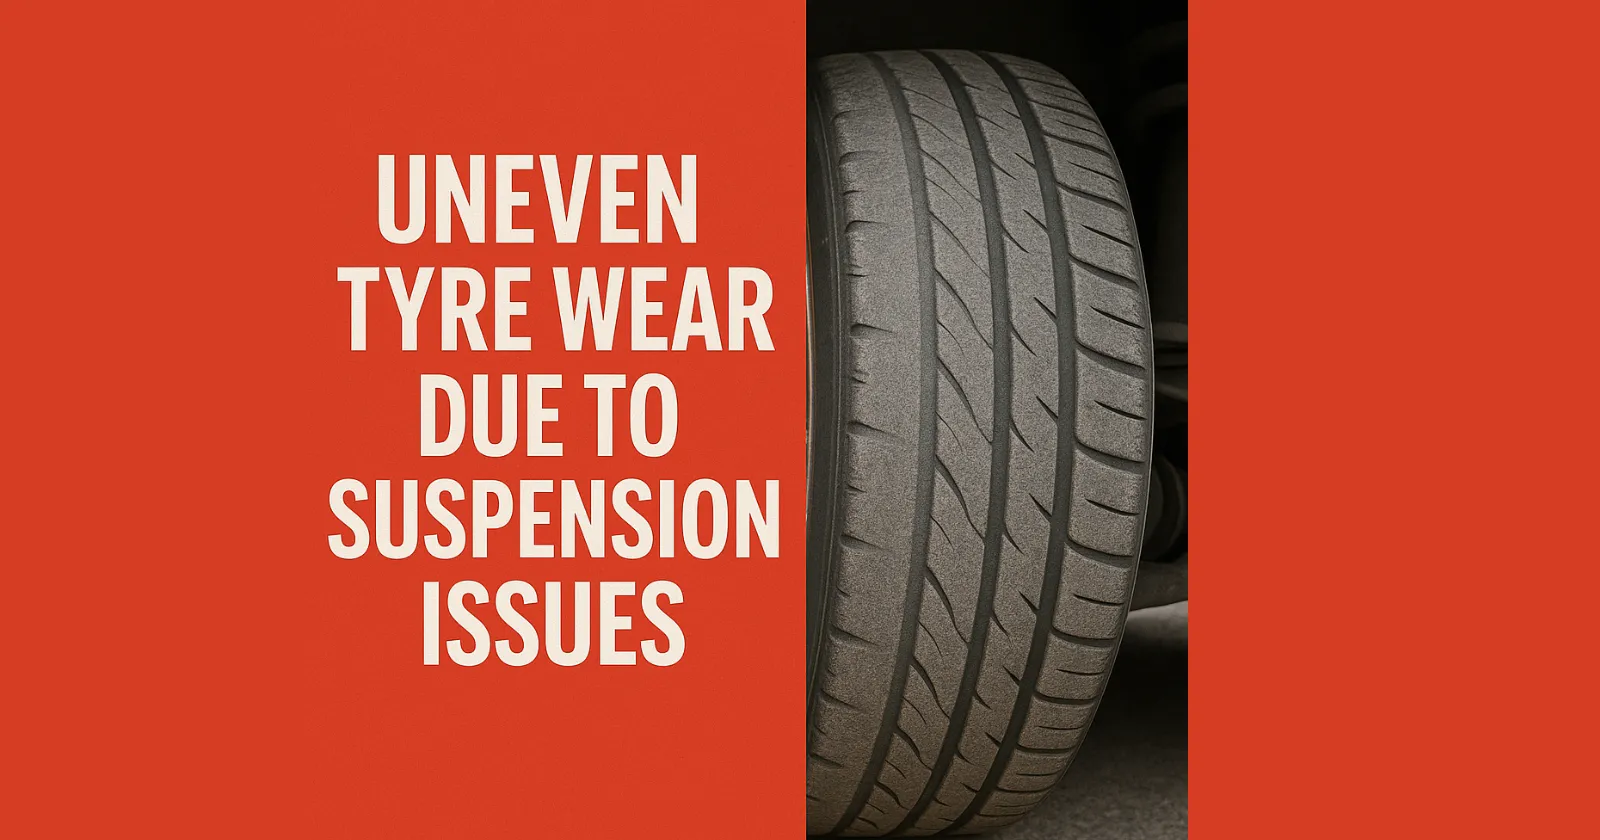
Common symptoms include uneven tire wear (inside or outside edge), bump steer (the car veers on bumps), wandering steering, poor cornering stability, and excessive body roll. Each symptom points to specific angles: camber wear shows on one edge of the tire; toe wear causes feathering; roll center issues manifest as body roll or instability. Use this diagnostic checklist:
- Check tire wear patterns: inside edge wear = negative camber; outside edge wear = positive camber; feathered edges = toe issues.
- Test for bump steer: drive over a bumpy road and see if the car pulls or darts.
- Notice steering behavior: does it return to center? Does it wander at highway speeds?
- Observe body roll during cornering: excessive lean indicates roll center problems.

How to Measure Your Suspension Geometry at Home
You can measure key angles with basic tools: tape measure, plumb bob, angle finder, camber gauge (or smartphone app), and straight edge. Ensure the vehicle is on a level surface with correct tire pressure.
- Camber: Place the angle finder or camber gauge against the wheel's rim (vertical). Record the angle in degrees. Repeat on all four wheels.
- Caster: Turn the steering wheel 20 degrees left and right, measuring camber at each position. The difference indicates caster angle (use a formula or app).
- Toe: Use a tape measure to compare the distance between the front and rear of the front tires. Measure at hub height. The difference is toe (positive = toe-in, negative = toe-out).
- Ride height: Measure from the center of the wheel to the fender lip. Compare to factory specs.
- Bump steer: Use a string or laser to mark a straight line from the rear axle to the front. Jack up the suspension and watch how the front wheels move relative to the line.
Correction Methods: Kits vs. Custom Fabrication
Common Correction Parts
- Adjustable control arms (upper and lower): Correct camber, caster, and roll center by allowing length and angle adjustments.
- Drop spindles: Lower the vehicle without changing suspension geometry, ideal for lowering.
- Relocation brackets: Move mounting points to restore geometry, often used for lift kits.
- Camber/caster plates: Adjustable strut mounts that change the angle of the strut.
Bolt-On Kits vs. Custom Fabrication
Bolt-on kits are designed for specific vehicles and lift/lower amounts. They are easier to install, less expensive (typically $200–$800), and offer some adjustability. Custom fabrication is tailored to your exact setup, but costs more (often $1,000+), requires welding and engineering expertise, and is best for extreme modifications or track use. For most street and mild off-road applications, a quality bolt-on kit is sufficient.

Finding Your Vehicle's Geometry Specs
Factory specifications are available from the manufacturer's service manual or online databases like Alldata and Mitchell. These specs vary by model, year, and trim level. Look for camber, caster, and toe values, usually given in degrees or inches/mm. For example, a 2015 Hyundai Elantra might specify camber of -0.5° ± 0.5°, caster of 3.0° ± 0.5°, and toe of 0.10° ± 0.20°. Avoid using generic specs from forums; always use verified data from the manufacturer or a trusted database.
When Is Correction Necessary? Expert Insights and Common Myths
Not all ride height changes require correction. Small changes (e.g., 1 inch) may be within acceptable limits. The need for correction depends on the amount of lift/lower, vehicle design, and intended use (street vs. off-road vs. track). Debunking myths: 'You don't need correction if you get an alignment'—false, because alignment can't fix geometry issues like roll center or bump steer. 'All lifts require drop brackets'—not true; some lifts are designed to maintain geometry. A rule of thumb: if you notice symptoms or your measurements exceed factory specs by a significant margin (e.g., more than 1° camber), correction is needed.
Step-by-Step Correction Process: From Measurement to Alignment
- Measure current geometry and compare to factory specs.
- Select and install appropriate correction parts (e.g., adjustable control arms).
- Re-measure and adjust parts to achieve desired specs.
- Take the vehicle for a professional alignment to fine-tune toe and caster.
For DIY installation, ensure you have the right tools and torque specs. If you're not comfortable with suspension work, seek professional help.

Alignment: The Final Step
After correcting geometry, a professional alignment is crucial. It sets toe, caster, and camber to factory or performance specs, ensuring even tire wear and predictable handling. A typical alignment costs $50–$150 and takes about an hour. Ask for a printout of the final specs.
Manufacturer's Perspective: Engineering for Performance
As a manufacturer of [automotive suspension components](/products), we design our parts to meet or exceed OEM specifications. Our [quality control](/quality) ensures that each component is built to exacting standards. When you choose our adjustable control arms or bushings, you're getting parts engineered for performance and durability. We offer a range of [Large suspension bushing](/products/bushing-001-2) and [control arms](/products/control-arm-001) for various Hyundai and KIA models, among others. Our [manufacturing facility](/manufacturing) uses advanced processes to ensure precision.
Frequently Asked Questions
Q: Can I correct suspension geometry without replacing parts?
A: Sometimes, but only for minor adjustments. For significant changes, parts like adjustable control arms are necessary.
Q: How much does suspension geometry correction cost?
A: Parts range from $200 to $1,000+ depending on the vehicle and method. Installation adds $200–$500 if done professionally.
Q: Will correcting geometry improve ride quality?
A: Yes, by restoring proper suspension angles, you'll reduce tire wear and improve handling, which often translates to a better ride.
Q: Do I need to correct geometry if I only lower 1 inch?
A: Possibly not, but it's best to measure and compare to specs. Even small changes can affect bump steer and roll center.
Conclusion
Suspension geometry correction is not an optional upgrade—it's a necessary step after any significant lift or lower. By understanding the angles involved, measuring your vehicle, and choosing the right correction parts, you can restore performance and safety. Always consult factory specs and consider professional alignment. For quality components, explore our range of [automotive suspension components](/products) designed to meet your needs.