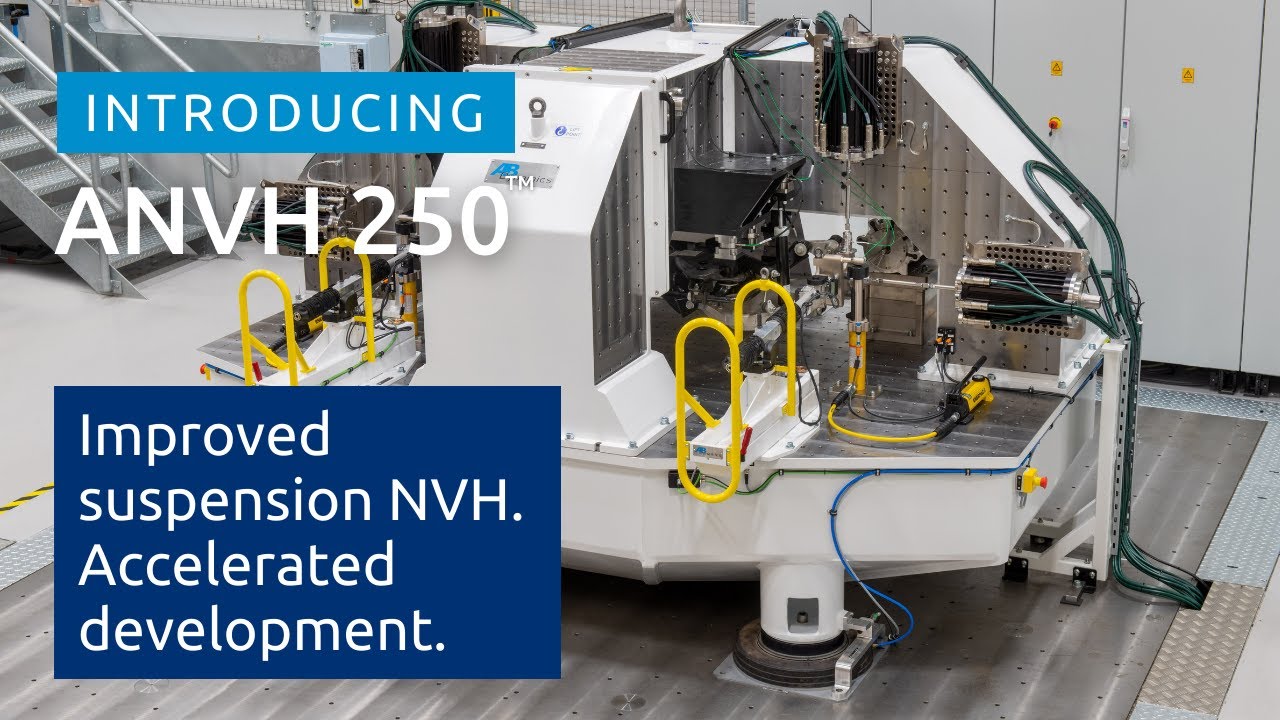
Suspension Damper NVH Testing: Match the Method to the Complaint
Damper NVH testing matters because it is the only way to isolate whether a noise complaint originates in the damper itself or in how the damper integrates with the vehicle. A damper that passes every bench test can still produce a customer complaint if mounting bushings, body acoustic paths, or tire excitation amplify its output. Conversely, a damper with marginal NVH performance can be masked by good isolation. Testing without a specific noise complaint or diagnostic goal wastes instrumentation time and produces data that cannot be acted on.
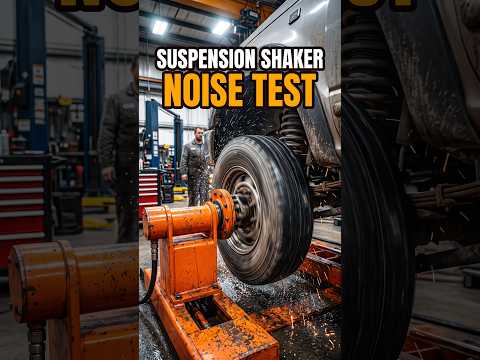
Damper NVH problems manifest as rattle, squeak, and structure-borne noise that customers perceive as ride quality or durability failures. These are not abstract engineering metrics — they are warranty claims, dealer visits, and brand damage. Component-level damper NVH does not always correlate linearly with vehicle-level perception because of mounting, bushings, and body acoustic paths. That nonlinearity is why a purpose-driven test plan beats running every available test.
Before instrumenting anything, define the complaint: Is it a cold-morning squeak over speed bumps? A rattle on rough pavement? A low-frequency boom at highway speed? Each points to a different excitation method, frequency range, and sensor placement. The test exists to answer a specific question, not to generate plots.
Start With the Complaint: Selecting the Right Test Method
The test method should be driven by whether the complaint is a discrete tone, a broadband noise, or a transient event. Sinusoidal sweep is best for identifying resonant frequencies and tonal squeak or rattle behavior at specific excitation levels. If the customer complaint is a squeak that appears at a particular bump frequency, a slow sine sweep through that range will reveal the resonant peak and its amplitude. You can then vary excitation level to see if the noise is amplitude-dependent — a common characteristic of friction-induced squeak.
Random vibration better represents real road input and is suited for broadband structure-borne noise and durability-related NVH. Road input is not a single frequency; it is a spectrum. Random excitation excites all frequencies simultaneously, which makes it efficient for detecting rattle and broadband noise that would require many sine sweeps to cover. Use random vibration when the complaint is "noise over rough roads" rather than "noise at 30 mph."
Transient events — such as a single sharp impact from a pothole — call for impulse or step-relaxation testing. A transient input reveals how quickly the damper settles and whether it emits a residual ring or rattle after the initial event. The decision framework is simple: match the excitation to the temporal character of the complaint. Discrete tone → sine sweep. Broadband → random. Transient → impulse. Using the wrong method either misses the noise or buries it in irrelevant data.
Instrumentation and Placement: What to Measure and Where
Accelerometers on the damper body, rod, and mounting points capture structure-borne vibration paths. The damper body accelerometer measures how much vibration the damper housing transmits; the rod accelerometer captures motion of the moving mass; mounting-point accelerometers quantify what actually reaches the vehicle structure. Place accelerometers as close to the damper-to-bushing interface as possible, but avoid mounting on flexible brackets that have their own resonances.
Microphones near the damper and in the cabin help correlate airborne noise with component behavior. A microphone 10–20 cm from the damper captures squeak and rattle that may not show up strongly in accelerometer data. A cabin microphone — at the driver's ear position — provides the link to customer perception. The correlation between near-field damper microphone data and cabin microphone data tells you whether the damper is the dominant source or just one contributor.
Laser vibrometers are useful for non-contact measurement of damper rod or body motion where adding mass is a concern. Accelerometers add mass, and at high frequencies even a small accelerometer can shift the resonance of a lightweight rod. A laser vibrometer measures velocity without contact, eliminating mass loading. The trade-off is cost and setup complexity, but for high-frequency rattle investigation on low-mass components, it is often the only valid option.
Interpreting Damper NVH Data: Signatures of Rattle, Squeak, and Structure-Borne Noise
Rattle typically appears as broadband, high-frequency content with impulsive time-domain characteristics. On an FFT plot, rattle looks like a raised noise floor across a wide frequency band rather than a single peak. In the time domain, you see short bursts of energy that repeat with each excitation cycle. The impulsive nature distinguishes rattle from steady-state noise. If you see a broadband elevation that disappears when you remove the damper from the rig, you have confirmed damper-origin rattle.
Squeak often shows as tonal peaks at specific frequencies that shift with excitation conditions. Unlike rattle, squeak is narrowband. The peak frequency may shift as temperature, load, or excitation amplitude changes — a signature of friction-induced vibration. If the peak frequency tracks with excitation frequency (rather than staying fixed), the noise is likely forced, not resonant. If it stays fixed while excitation frequency sweeps, you have a structural resonance or a friction mode.
Structure-borne noise appears as vibration energy at the damper mounts that correlates with interior noise peaks. The key word is "correlates." You are looking for coherence between mount accelerometer data and cabin microphone data. High coherence at a specific frequency means the damper mount is a significant path for that noise. Low coherence means the noise is coming from elsewhere — tire, road, or another suspension component. Without coherence analysis, you are guessing.
Common Pitfalls in High-Frequency Damper NVH Measurement
Mounting resonance and sensor mass loading can distort high-frequency measurements. Every accelerometer has a specified frequency range, but that range assumes ideal mounting. A magnet-mounted accelerometer on a curved damper body may have a mounting resonance well within the measurement band, creating false peaks. Use adhesive mounting or stud mounting for high-frequency work, and verify mounting resonance with a tap test before trusting the data.
Background noise and test rig dynamics can mask or mimic damper noise. The servo-hydraulic actuator, the rig frame, and even the building floor transmit vibration. If you measure the rig without a damper installed, you establish a noise floor. Any damper data that does not exceed that floor by a meaningful margin is suspect. Similarly, rig resonances can amplify certain frequencies, making a benign damper look problematic.
Inconsistent excitation levels between tests make comparisons unreliable. NVH data is only comparable if the input is controlled. Document the excitation amplitude, frequency range, sweep rate, and environmental conditions for every test. If you change the sweep rate, you change the effective excitation time at each frequency, which changes the measured response. Repeatability is not optional — it is the foundation of actionable data.
From Component to Vehicle: Correlating Damper NVH with Customer Perception
Damper NVH must be evaluated in the context of mounting bushings, body acoustic paths, and tire excitation. A damper that measures well on the bench may still produce a vehicle-level complaint if the mounting bushings are too stiff or too soft. Bushings are not passive isolators; they are tuned components. A large suspension bushing — 54584-2D000 or large suspension bushing — 54584-3S100 with the wrong dynamic stiffness can shift the damper's effective NVH signature at the vehicle level.
Objective metrics like vibration level at the mount can be correlated with subjective ratings through jury studies or in-vehicle measurements. A jury study asks trained evaluators to rate noise on a scale while you record objective data. Over multiple vehicles and conditions, you build a correlation curve. That curve lets you set component-level targets that actually predict customer satisfaction. Without it, you are setting targets based on engineering intuition alone.
A damper that passes component-level NVH targets can still produce a vehicle-level complaint if integration is poor. The mounting bracket stiffness, the bushing preload, and the body attachment point all modify the path. If a vehicle complaint exists but the damper passes on the bench, the problem is likely in the interface — not the damper. This is why component testing must be paired with vehicle-level validation.
Building a Purpose-Driven Damper NVH Test Plan
Define the specific noise or vibration complaint and the vehicle condition where it occurs. "Rattle over rough roads at low speed" is a testable complaint. "Noise" is not. Write down the symptom, the condition, and the customer impact. This definition drives every subsequent decision.
Select the test method and instrumentation based on the expected signature. If you expect rattle, use random vibration and high-frequency accelerometers. If you expect squeak, use sine sweep and near-field microphones. If you expect structure-borne noise, use mount accelerometers and cabin microphones with coherence analysis. Match the tool to the job.
Document setup, excitation levels, and environmental conditions for repeatability. A test that cannot be repeated cannot be trusted. Record sensor locations, mounting methods, excitation profiles, temperature, and humidity. If a result looks anomalous, you need the documentation to determine whether the anomaly is real or an artifact.
Interpret results with vehicle-level context and plan follow-up tests if correlation is weak. If component data does not explain the vehicle complaint, test the interface — bushings, brackets, body attachments. If the interface does not explain it, test the vehicle with the suspect damper removed or replaced. NVH diagnosis is iterative. The first test narrows the search; it rarely provides the final answer.
FAQ
What is the most common mistake in damper NVH testing?
Testing without a defined complaint. Running a standard sweep or random profile because "that's what we always do" produces data that cannot be linked to a customer issue. Start with the symptom.
Can I use a standard accelerometer for high-frequency damper rattle?
Only if you verify mounting resonance and mass loading. For frequencies above a few kHz, adhesive-mounted miniature accelerometers or laser vibrometers are safer choices. Magnet mounts are convenient but often invalid above 1–2 kHz.
How do I know if the damper is the noise source or just a path?
Coherence analysis between damper mount vibration and cabin noise. High coherence means the damper mount is a significant path. If coherence is low, look elsewhere — tire, road, or other suspension components.
Do I need a vehicle to do damper NVH testing?
No, but component-level results must be correlated with vehicle-level perception. A bench test can rank dampers and identify mechanisms, but it cannot predict customer acceptance without vehicle context.
What about bushing selection?
Bushings are part of the damper NVH system. A large suspension bushing — 54584-BU000 or large suspension bushing — 54584-F9000 with different dynamic characteristics will change the vehicle-level NVH signature even if the damper is unchanged. Test the interface, not just the damper.