Suspension Bushing Preload Torque: Torque at Ride Height, Not Just to Spec
If you torque a rubber suspension bushing while the suspension hangs at full droop, you have already damaged it—even if you hit the factory torque spec exactly. Preload torque is the torsional twist locked into a bonded rubber bushing when it is tightened at the wrong suspension position. The torque value is secondary. The position of the suspension when you apply that torque is the primary variable that determines whether the bushing survives.
A rubber bushing with a bonded inner sleeve acts as a torsional spring. The rubber is vulcanized to both the inner metal sleeve and the outer shell. When the suspension moves, the rubber twists rather than rotates freely. That twist is the bushing's designed range of motion. Tighten the bolt at full droop and you permanently rotate the inner sleeve relative to the outer shell. The rubber is now twisted at static ride height—consuming travel that should be available for bumps and cornering. The bushing is preloaded.
Even a correct torque value applied at the wrong suspension position will destroy the bushing. It causes clunks over bumps, uneven ride height, torn rubber, and handling that feels bound up. The position is the rule; the torque value is just the clamp load that keeps the sleeve from slipping.
Identify the Bushing Type Before You Torque Anything
Not every bushing follows the ride-height rule. Applying a rubber-bushing procedure to a free-rotating polyurethane bushing is harmless but unnecessary. Applying it to a spherical bearing or a specific ball joint design can be wrong. Identify the design before you touch a wrench.
Rubber Bushings With Bonded Inner Sleeves
These rely on torsional deflection. They must be torqued at the neutral/ride position. This is the majority of OEM control arm, trailing arm, and torque arm bushings.
Polyurethane Bushings
Polyurethane bushings vary by design. Some rotate freely on a stainless sleeve and do not preload—they can be torqued at any suspension position. Others are bonded or captured in a way that follows the ride-height rule. The material name "poly" does not tell you which design you have; the construction does. If the inner sleeve spins freely by hand before installation, it likely does not preload. If it is bonded or has a locking collar, treat it like rubber.
Design Exceptions
Certain ball joints, spherical bearings, and specific OEM designs may specify a different procedure—sometimes torquing at full droop is correct because the joint is designed to rotate, not twist. When the component manufacturer's instruction conflicts with the general rule, follow the manufacturer. The rule exists to protect bonded rubber; it does not override engineering intent.
Establish True Ride Height on a Modified Suspension
On a stock vehicle, ride height is the normal resting position with the full weight of the car on the tires. On a modified suspension—lowered, lifted, or on coilovers—the neutral position is the actual static ride height of that build, not the factory spec. The bushing must be torqued at the height the car actually sits at.
If the car is lowered or lifted, the neutral angle of each pivot changes. Torquing at the old stock height or at full droop locks in a twist the bushing was never designed to hold. The rubber is forced to operate outside its intended range from the moment the car settles.
To find true ride height on a modified car, measure from the fender lip to the wheel center on both sides and record it. Then, with the car on a lift, use a jack or stand under the control arm or axle to raise the suspension until that measurement is replicated. The suspension is now at the same angle it will see on the ground. Torque the bushings there.
Step-by-Step: Torquing Suspension Bushings at Ride Height
- Loosen or install the bushing bolts with the suspension at full droop only to the point of snug. Do not final-torque in the air. This applies whether you are replacing a bushing or reinstalling a control arm after another repair.
- Load the suspension to true ride height. On a lift, use a jack or stand under the control arm or axle to raise the suspension to its resting position. On the ground, lower the car onto its tires or use ramps so the full weight is on the suspension. If you are working on a lifted vehicle, you may need to add weight to the chassis or use a jack to simulate the static load.
- Once at ride height, torque each bushing to the manufacturer's spec. Then re-check that the suspension is still at the neutral position before moving to the next fastener. The act of tightening can shift the component slightly; verify before you proceed.
Torque Sequence for Multiple Bushings on the Same Component
When a component has more than one bushing—a control arm, torque arm, or equalizer assembly—tightening one fastener can shift the component and change the angle at the other bushing. This is a common cause of residual twist.
Snug all fasteners first at droop. Then load the suspension to ride height. Torque in a sequence that keeps the component at its neutral position—typically working from the pivot that locates the component to the outer fasteners. For a control arm with two bushings, torque the inner pivot first, then the outer. For a torque arm, start at the chassis end and work toward the axle.
Re-check the neutral position after each fastener and before final torque on the next. The component can move as bolts are tightened. If you see the bushing twist as you tighten, stop, reposition the suspension, and start again.
Diagnose and Reset Bushings That Were Torqued in the Air
Symptoms of preloaded bushings include clunks over bumps, a car that sits unevenly or has memory twist, torn or distorted rubber, and handling that feels bound up. If you suspect a bushing was torqued at full droop, you can often reset it without replacement.
To verify, raise the car, loosen the bushing fasteners, load the suspension to true ride height, and re-torque. If the bushing is not torn, this can reset the neutral position. The rubber will relax back to its designed orientation. Drive the car and re-check for clunks or uneven ride height.
If the rubber is torn, cracked, or permanently deformed, resetting will not fix it. The bushing must be replaced and torqued correctly at ride height. When replacing, inspect the inner sleeve for corrosion or wear; a worn sleeve can cause the new bushing to fail prematurely.
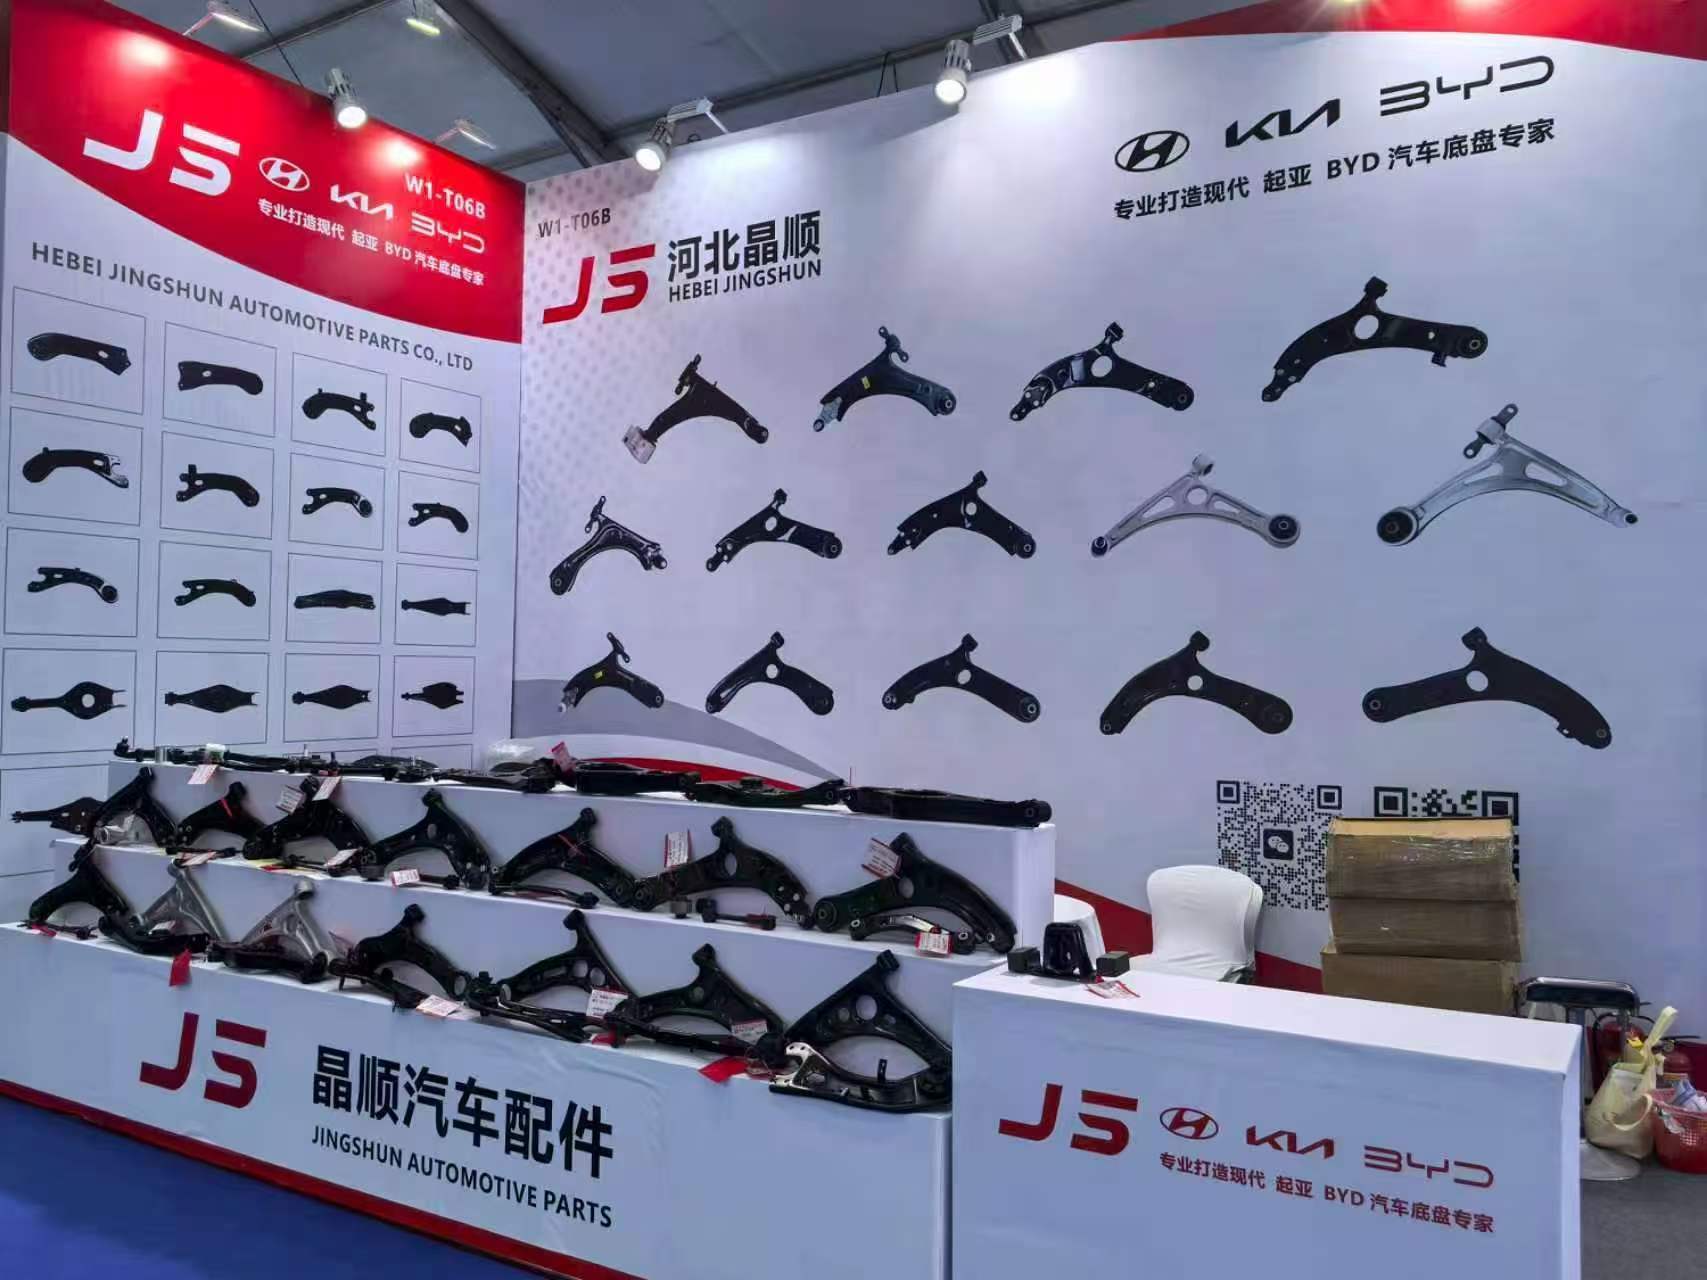
For Hyundai and Kia applications, we manufacture a range of rear trailing arm bushings and control arm bushings that are designed to be torqued at ride height. Our [Rear Trailing Arm Bushing](/products/bushing-001) and [Large suspension bushing](/products/bushing-001-2) lines cover many popular models. If you are replacing a control arm, our [Control Arm](/products/control-arm-001) assemblies come with bushings pre-installed and are ready for final torque at ride height.
FAQ
Can I torque polyurethane bushings at full droop?
Only if the bushing rotates freely on its sleeve. If it is bonded or captured, torque at ride height.
How do I know if my bushing is preloaded?
Look for twist in the rubber at static ride height, clunks over bumps, or uneven ride height side-to-side.
Do I need to torque at ride height if I have spherical bearings?
No. Spherical bearings rotate freely and do not preload. Follow the manufacturer's procedure.
What if I can't load the suspension on a lift?
Use a jack under the control arm or axle to raise the suspension to the measured ride height. On the ground, lower the car onto ramps or tires.