KYB Shock Installation Pro Tips: Why Mounting Hardware and Torque Discipline Decide the Job

A KYB shock or strut installation succeeds or fails on the hardware and torque discipline around it — not on the shock itself. KYB is an OE supplier: the unit in the box is engineered to OE tolerances, valved to OE behavior, and pressure-tested before it ships. The variable in every installation is what you bolt it to. Reusing old mounts, insulators, bump stops, and boots is the single most common cause of premature noise, top-mount failure, and warranty rejection. Treat mounting components as consumables with the same replacement cadence as the shock itself.
This matters because the failure mode is deceptive. A worn upper mount bearing or a collapsed insulator does not announce itself at installation. It shows up 3,000 to 8,000 miles later as a clunk over expansion joints, a rattle at low speed, or a steering wander the alignment shop cannot fix. The technician who installed the shock gets the comeback. The warranty claim gets denied because the failed part was not the KYB unit — it was the reused hardware around it.
The decision framework is simple: if the mount has more than 60,000 miles on it, if the rubber shows any cracking or separation, or if the bearing has detectable play, it does not go back on the new shock. Replace it. The cost of a mount kit is a fraction of the labor to redo the job.
Pre-Installation Safety and Hardware Audit
Before the vehicle goes on the lift, confirm three things: the spring is structurally sound, the mount is serviceable or being replaced, and you have every piece of new hardware the job requires. If any of those three fails, the job does not proceed.
Inspect springs for cracks, corrosion pitting, and free length. A spring that has sagged or has a visible crack will not perform correctly with a new shock, and it is a safety hazard under compression. Inspect mounts for cracks, rubber-to-metal separation, and bearing play — rotate the bearing by hand and feel for roughness or binding. Confirm you have new KYB-recommended mounting hardware: nuts, insulators, bump stops, boots, and any bearing plates the application uses.
Verify tools before you start. You need a spring compressor rated for the spring rate you are working with, a calibrated torque wrench, flare-nut or pass-through sockets for strut mount nuts, and a safe lift or jack stands rated for the vehicle. A compromised spring or mount cannot be fixed by a new shock. Stop and replace it.
Shock vs. Strut: Two Different Procedures, Two Different Risks
Shock absorbers and struts are not interchangeable procedures. Applying shock-installation shortcuts to a strut job is where most damage and comebacks originate.
Shock absorbers — Gas-a-Just, MonoMax, and most rear applications — typically mount outside the spring and do not require spring compression. The risk profile is lower, but the torque discipline and hardware replacement rules still apply. Struts — 2000 Series and many OE-replacement struts — integrate the spring seat and require a spring compressor and careful mount transfer. The stored energy in a compressed coil spring is the single largest hazard in the job.
Strut cartridge installations, common on older Toyota, Nissan, and some European applications, add a third procedure: fluid handling and correct cartridge seating. This is different from a complete strut replacement and has its own failure modes — underfilled housings, improperly seated cartridges, and retaining nuts that were impact-driven instead of torqued. The hardware and torque rules apply to all three, but the sequence and risk profile differ.
Step-by-Step Installation Sequence (Shocks and Struts)
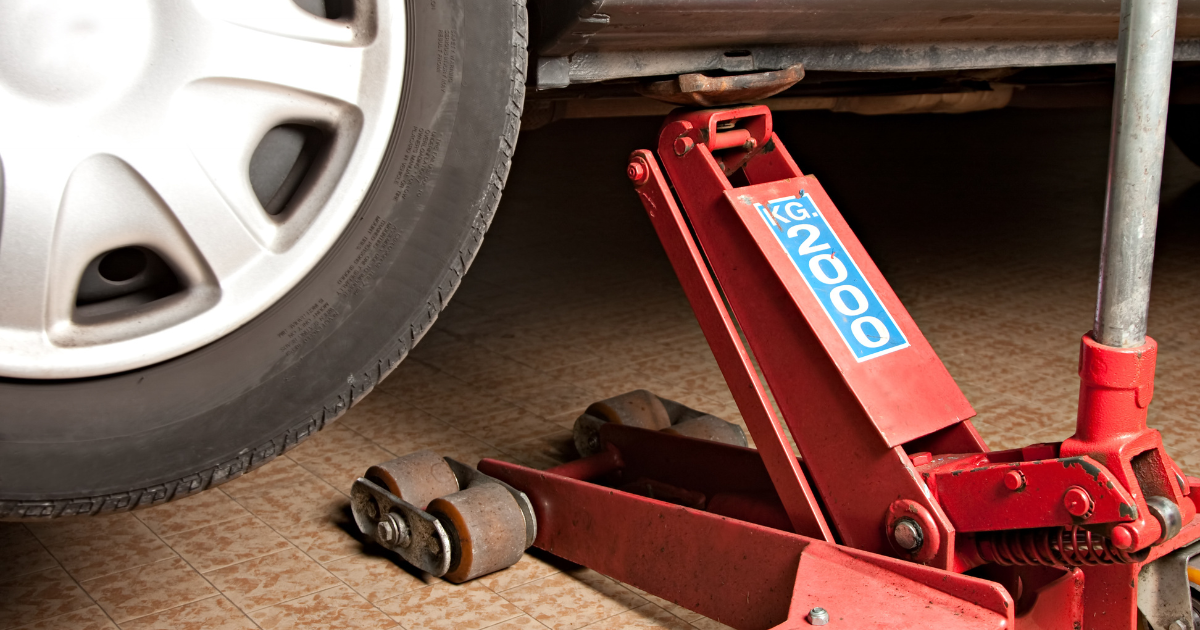
Support the vehicle safely, remove the wheels, and relieve spring tension before disconnecting any suspension component. This is the non-negotiable first step for every procedure that follows.
For shocks: remove the old unit, transfer or replace hardware, install the new shock, and hand-thread all fasteners before final torque. Hand-threading first prevents cross-threading and lets you feel whether the fastener is seating correctly. For struts: compress the spring, transfer the mount and insulator (or install new), seat the spring correctly in the lower perch, and release tension slowly. For cartridges: drain and refill with the specified fluid, seat the cartridge fully, and torque the retaining nut to spec — never impact-drive it.
Always tighten mount nuts with a torque wrench, not an impact wrench, and follow the manufacturer's sequence. That sequence is often inside-to-outside or diagonal, and it matters because uneven clamping load distorts the mount and preloads the bearing incorrectly.
Torque Specs and the Impact-Wrench Warning
Torque values vary by vehicle and fastener size. Always consult the vehicle-specific service information or KYB's installation instructions for the exact spec. If a torque spec is unavailable, do not guess — stop and find the correct value.
Mount nuts are the most sensitive fasteners in the job. Over-torque damages threads and distorts the insulator. An impact wrench on a mount nut can spin the shock shaft, which destroys the internal valving and turns a new shock into a warranty return before the vehicle leaves the bay. Use a torque wrench on all suspension fasteners, and re-check after the first test drive. The re-check is not optional — fasteners settle, and a mount nut that was correct on the lift can be loose after 10 miles of road load.
Troubleshooting Mid-Install Failures: Stripped Threads, Misaligned Mounts, Cross-Threaded Nuts, and Cartridge Fluid
Four failures account for most mid-install problems. Each has a correct recovery and a wrong one.
Stripped threads: stop immediately, do not force. Replace the fastener, or repair the thread with a thread insert if the mount is salvageable. Forcing a stripped fastener destroys the mount and converts a $10 problem into a $200 one.
Misaligned mounts: loosen all fasteners, realign the mount to the shock shaft, and hand-thread before torque. Misalignment is usually a symptom of tightening one fastener before the others are seated.
Cross-threaded nuts: never force. Back off, inspect the nut and stud, and replace the nut and, if needed, the stud. A cross-threaded mount nut that is forced will fail under load.
Strut cartridge fluid: use the specified fluid, fill to the correct level, and ensure the cartridge is fully seated before tightening the retaining nut. An underfilled or improperly seated cartridge produces noise and premature wear that looks like a shock failure but is an installation failure.
Product-Line Nuances: Gas-a-Just, MonoMax, and 2000 Series
Gas-a-Just is a high-pressure gas monotube. Handle it carefully, do not compress the shaft by hand before installation, and ensure the mount hardware is rated for the application. The gas charge is what gives the shock its response — mishandling it before installation can compromise that.
MonoMax is a monotube designed for trucks and SUVs. The larger shaft and higher gas pressure mean mount and hardware condition is even more critical. A marginal mount that would survive on a passenger car will fail faster under MonoMax load.
2000 Series is a twin-tube strut, often used in cartridge or complete strut form. Follow the specific procedure for your application and pay attention to fluid handling if cartridge-style. Across all three lines, new hardware and correct torque are non-negotiable.
Post-Installation Verification and Test Drive
Re-check all torque values after settling, especially mount nuts and lower fasteners. Inspect for leaks, unusual noises, and proper ride height before the test drive. A vehicle sitting unevenly after installation is a signal that something is wrong — do not test drive it until you have identified why.
Test drive at low speed first, then moderate speed, listening for clunks and rattles and checking steering alignment. If anything feels wrong, stop and re-inspect. Do not deliver the vehicle until the installation is verified. The test drive is the last chance to catch a problem before it becomes a comeback.
Conclusion: Get It Right the First Time
The shock is the easy part. The mount, the nut, the insulator, and the torque wrench are where the job succeeds or fails. Replace the hardware, follow the spec, hand-thread before you torque, and verify with a structured test drive. That sequence is what separates a one-time repair from a repeat job.
---
Related