Kia Optima Control Arm Symptoms: How to Diagnose and Fix Them
If your Kia Optima is making clunking noises from the front suspension, especially over bumps or when turning, the control arms are a prime suspect. These symptoms, along with uneven tire wear and steering wander, often point to worn control arm bushings or ball joints. This guide will help you identify the signs, differentiate them from other suspension issues, and decide on the best course of action.
Top Symptoms of a Failing Control Arm in a Kia Optima
The most common symptoms of a failing control arm in a Kia Optima include clunking, popping, or banging noises from the front suspension, uneven or accelerated tire wear, steering wander or looseness, and vibrations felt through the steering wheel or floorboard at certain speeds. These symptoms typically worsen over time and are more noticeable when driving over bumps, turning, or braking.
Clunking, Popping, or Banging Noises
A worn control arm bushing or ball joint allows excessive movement in the suspension, causing metal-to-metal contact or binding. This results in a distinct clunking or popping sound, especially when going over speed bumps, potholes, or during sharp turns. The noise may be more pronounced on one side, depending on which control arm is affected.
Uneven or Accelerated Tire Wear
When a control arm is loose, the wheel alignment is compromised, causing the tire to scrub against the road at an incorrect angle. This leads to accelerated wear on the inner or outer edges of the tire, often requiring premature tire replacement. If you notice a feathered or scalloped pattern on the tread, it's a strong indicator of a suspension issue.
Steering Wander or Looseness
The control arm maintains the fore-and-aft position of the wheel and keeps the steering geometry stable. When it's worn, you may feel a vague or loose sensation in the steering wheel, and the car may drift or wander on the highway, requiring constant corrections. This is a safety concern, as it reduces your ability to control the vehicle precisely.
Vibrations While Driving
Excessive play in the control arm can cause the wheel to wobble slightly, transmitting vibrations through the steering wheel or floorboard. These vibrations are often speed-dependent and may be felt at highway speeds. They can also be accompanied by a shudder during braking if the control arm affects the brake caliper alignment.
Diagnosing Control Arm Issues: Differentiating from Other Suspension Components
To avoid misdiagnosis, it's crucial to systematically inspect all suspension components. Control arm issues can mimic problems with sway bar links, tie rods, or ball joints. Here's how to tell them apart.
Visual Inspection of All Suspension Components
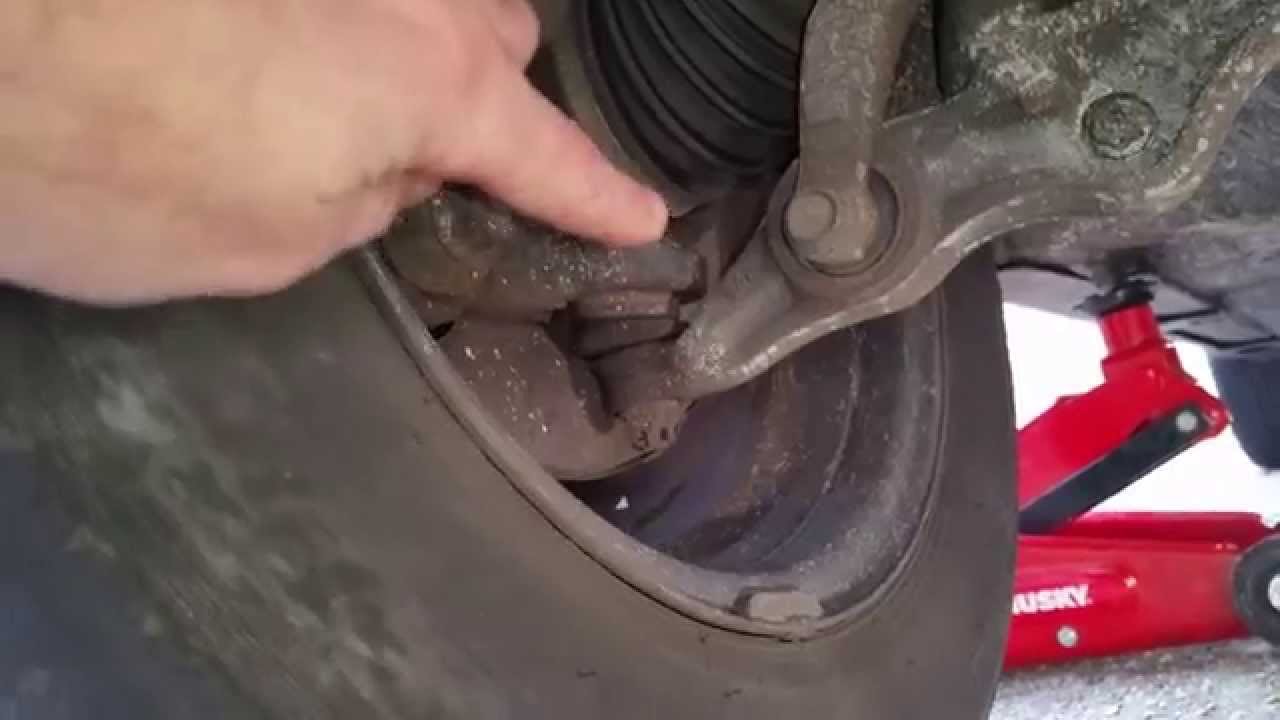
Start by safely lifting the vehicle and supporting it on jack stands. Visually inspect the control arms, sway bar links, tie rods, and ball joints for signs of wear, damage, or loose fasteners. Look for cracked or torn rubber bushings, leaking grease from ball joint boots, and any bent or damaged metal. Also, check the condition of the struts and shocks for oil leaks, which can cause similar noises.
The 'Pry Bar' Test
Use a pry bar to check for play in the control arm bushings and ball joints. Insert the pry bar between the control arm and the subframe or steering knuckle, and gently pry. There should be minimal movement. Excessive movement indicates worn bushings or a loose ball joint. Compare the movement on both sides to identify the problematic one. For ball joints, you can also use a jack under the lower control arm to unload the suspension and then check for vertical play.
Bounce Test and Listening for Noises
Perform a 'bounce test' by pushing down on the front of the car and releasing it. Listen for clunks or creaks during the weight transfer. Control arm noises are often a dull thud, while sway bar link noises are typically a sharp clunk on one side. Tie rod issues may produce a clicking sound when turning the steering wheel back and forth.
When to Seek Professional Help
If you're not confident in your diagnosis or lack the proper tools, it's wise to have a professional mechanic inspect the suspension. They have the experience and equipment to pinpoint the exact issue. However, with the information in this guide, you'll be better equipped to understand their findings and make informed decisions.
Model-Year Specific Control Arm Failure Patterns (2011-2020)
Different generations of the Kia Optima have different common failure points. Knowing these patterns can help you focus your inspection and anticipate potential issues.
2011-2014 Models (Third Generation)
These models are prone to rear lower control arm bushing wear. This can cause clunking noises from the rear suspension and uneven rear tire wear. The bushings are often the first to fail due to their design and exposure to road debris. If you own a 2011-2014 Optima and hear clunking from the rear, inspect the rear lower control arm bushings.
2016-2020 Models (Fourth Generation)
Fourth-generation Optimas have had reports of front lower control arm ball joint wear. This can cause popping sounds when turning and steering play. The ball joint is a critical component that connects the control arm to the steering knuckle. If it fails, the wheel can collapse, leading to a serious accident. If you notice popping noises or steering looseness, inspect the front ball joints.
Other Model Years and TSBs
While these are the most common patterns, other model years may have isolated issues. Always check for recalls or Technical Service Bulletins (TSBs) related to control arms for your specific model year. You can do this by visiting the NHTSA website or contacting a Kia dealership.
Step-by-Step Inspection Guide for Bushings and Ball Joints
Here's a hands-on method to inspect the control arm components yourself, enabling you to make an informed decision about replacement.
Safely Lift and Support the Vehicle
Park on a level surface, engage the parking brake, and chock the rear wheels. Use a floor jack to lift the front of the car and support it on jack stands. Never work under a vehicle supported only by a jack.
Visual Inspection of Bushings
Inspect the control arm bushings for cracks, tears, or excessive play. Look for rubber that is dry-rotted, cracked, or separated from the metal sleeve. If you see any of these signs, the bushings are likely worn and need replacement.
Pry Bar Test for Bushings and Ball Joints
Use a pry bar to check for movement in the bushings and ball joint. Insert the pry bar between the control arm and the subframe, and gently pry. There should be minimal movement. Excessive movement indicates worn bushings. For the ball joint, place the pry bar under the ball joint and pry up. If there is any vertical play, the ball joint is worn.
Check the Ball Joint Boot
Inspect the ball joint boot for damage, such as cracks, tears, or grease leakage. A torn boot allows dirt and moisture to enter, accelerating wear. If the boot is damaged, the ball joint is likely contaminated and should be replaced.
Torque Check on Control Arm Bolts
Ensure the control arm bolts are properly tightened. Use a torque wrench to check the torque against the manufacturer's specifications. Loose bolts can cause similar symptoms to worn bushings. If you find loose bolts, tighten them to spec and re-evaluate.
OEM vs. Aftermarket Control Arms: Quality and Cost Considerations
When it's time to replace the control arm, you'll face the choice between OEM (Original Equipment Manufacturer) and aftermarket parts. Here's what you need to know.
OEM Control Arms
OEM control arms are made to exact specifications and are typically more expensive. They guarantee fit and performance, and they often come with a warranty. If you want peace of mind and a direct replacement, OEM is the safest choice. However, they can cost significantly more than aftermarket options.
Aftermarket Control Arms
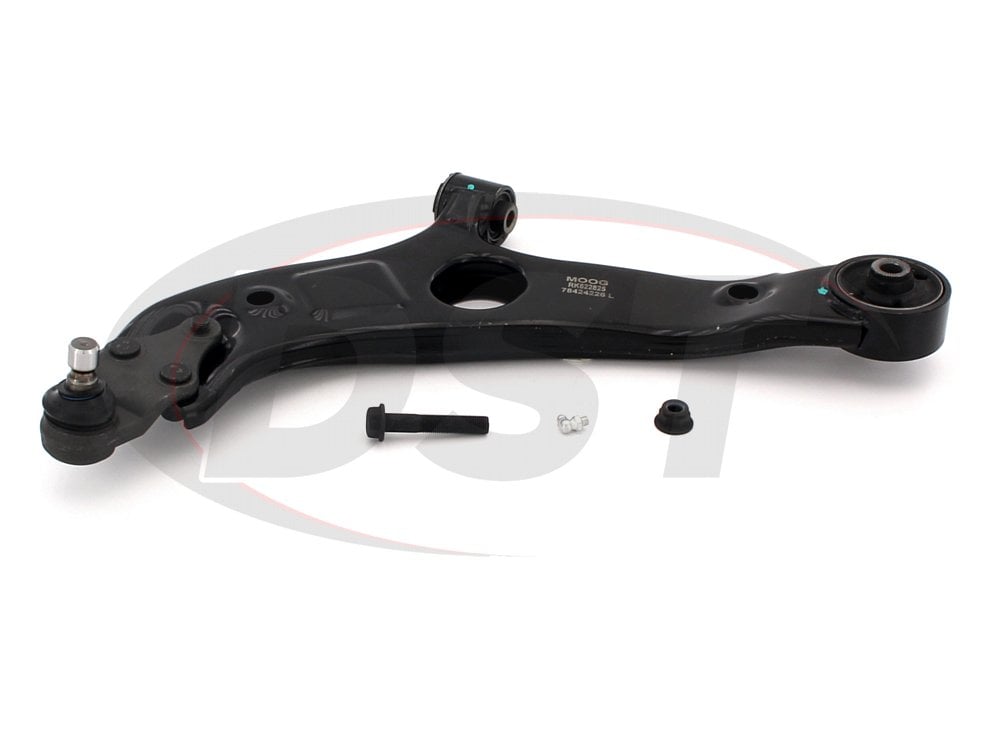
Aftermarket control arms can be cheaper, but quality varies widely. Look for reputable brands that meet or exceed OEM specifications. Some aftermarket arms are complete assemblies with bushings and ball joints pre-installed, which can save labor costs. However, be cautious of budget options that may use inferior materials or have poor fitment. Check reviews and warranties before purchasing.
Cost Considerations
The cost of control arms varies depending on the brand and whether you buy just the arm or a complete assembly. OEM arms can cost anywhere from $150 to $300 per side, while aftermarket arms can range from $50 to $150. Labor costs for installation can add another $150 to $300 per side. If you're on a budget, aftermarket arms from a reputable brand can be a good value, but prioritize quality to avoid premature failure.
Long-Term Effects of Ignoring Bad Control Arms
Driving with a bad control arm is not just a nuisance; it's a safety risk. Ignoring the problem can lead to severe consequences.
Loss of Steering Control
A worn control arm can cause the wheel to shift out of alignment, leading to a loss of steering control, especially at high speeds or in emergency maneuvers. This can result in a serious accident.
Premature Tire Wear
Worn control arms cause uneven tire wear, leading to premature tire replacement. This can cost you hundreds of dollars in new tires, which is often more than the cost of replacing the control arm.
Damage to Other Suspension Components
Continued driving with a bad control arm can damage other suspension components, such as tie rods, struts, and the steering rack. The excessive movement puts stress on these parts, leading to premature failure and more expensive repairs.
Risk of Wheel Collapse
In severe cases, a failed ball joint can cause the wheel to collapse, resulting in a loss of control and a serious accident. This is a critical safety issue that should not be ignored.
When to Replace vs. Repair: Decision Guidance Based on Inspection Findings
Based on your inspection, you'll need to decide whether to replace the entire control arm or just a bushing or ball joint. Here's a framework to help you decide.
Ball Joint Wear
If the ball joint is worn, the entire control arm must be replaced because the ball joint is not serviceable separately on most Optima models. The ball joint is pressed into the control arm and cannot be replaced on its own. Replacing the entire arm is the only safe option.
Bushing Wear Only
If only the bushings are worn, some aftermarket options allow bushing replacement. However, it may be more cost-effective to replace the whole arm, especially if the labor cost is high. Replacing just the bushings requires pressing them out and in, which can be time-consuming and may require special tools. In many cases, the cost of a new control arm is comparable to the labor cost of bushing replacement.
Bent or Damaged Control Arm
If the control arm is bent or damaged from an accident, it must be replaced. A bent arm cannot be repaired and will compromise the alignment and safety of the vehicle.
Consider Labor Costs
Replacing a control arm is labor-intensive, so if the bushings are worn, it's often cheaper to replace the entire arm rather than just the bushings. The labor cost for bushing replacement can be as high as the cost of a new arm, making replacement the more practical choice.
FAQs About Kia Optima Control Arms
How long do control arms last on a Kia Optima?
Control arms are designed to last the life of the vehicle, but the bushings and ball joints can wear out over time. Factors such as road conditions, driving habits, and maintenance affect their lifespan. On average, you may need to replace them between 60,000 and 100,000 miles.
Can I drive with a bad control arm?
It's not recommended. Driving with a bad control arm is a safety risk and can cause further damage to your vehicle. If you suspect a problem, have it inspected and repaired as soon as possible.
How much does it cost to replace a control arm on a Kia Optima?
The cost varies depending on whether you choose OEM or aftermarket parts and whether you do it yourself or hire a mechanic. On average, expect to pay between $200 and $600 per side, including parts and labor.
What tools do I need to replace a control arm?
You'll need a floor jack, jack stands, a socket set, a torque wrench, a pry bar, and possibly a ball joint separator. Some control arms may require special tools for bushing removal, but complete assemblies simplify the process.
Conclusion
Recognizing the symptoms of a bad control arm in your Kia Optima is the first step to a safe and reliable vehicle. By understanding the diagnostic process and the specific failure patterns for your model year, you can make informed decisions about replacement. Whether you choose OEM or aftermarket parts, prioritize quality and safety. If you're not comfortable with the repair, seek professional help. Regular inspection and maintenance can extend the life of your control arms and prevent costly repairs down the road.
For high-quality replacement control arms and bushings, consider our [automotive suspension components](/products). We offer a range of options to fit your Kia Optima, with a focus on durability and performance.