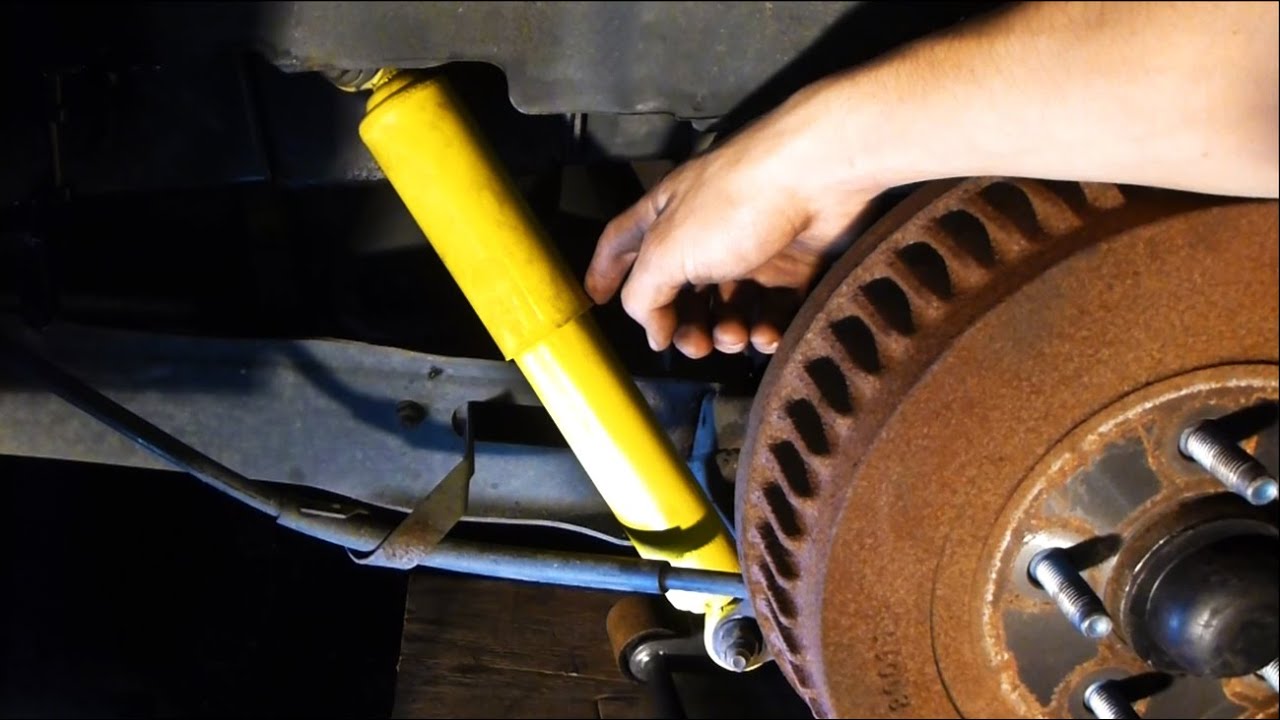
Confirm the Rear Shocks Are Actually the Failed Component

Before you buy a single part, confirm the shocks are the failed component. Rear shocks get replaced constantly when the real fault is a worn bushing, a broken or sagging spring, or an alignment problem — and a new shock cannot fix any of those.
Run a symptom-based diagnosis that separates damping failure from other rear-suspension complaints.
The bounce test has limits. Push down firmly on one rear corner and release. One rebound and settle is normal. More than two rebounds, or continued oscillation, suggests degraded damping. It is not definitive on its own: a shock can leak internally while passing a slow bounce test, and a stiff aftermarket shock can mask a weak spring.
Look for these consistent failure indicators:
- Visible fluid leakage streaking down the shock body
- Cupping or uneven wear across the rear tire tread
- Excessive body roll in corners compared with the vehicle's earlier behavior
- Nosedive under braking that feels disproportionate to the braking force
- A clunk or rattle over sharp bumps that does not change with load
Mileage alone is not a replacement trigger. A highway-driven commuter at 90,000 miles may have serviceable shocks, while a work truck that hauls loads on rough roads can wear a set out far sooner. Duty cycle, road conditions, and load history matter more than a fixed interval.
Rule out the cheap explanations first. Check rear tire pressures against the door placard. Inspect the trailing arm bushings for cracks, separation, or oil contamination — a failed bushing mimics a worn shock with noise and vague handling. Look for broken or sagging coil springs. If the vehicle pulls or the rear tires show a wear pattern that crosses the tread diagonally, an alignment issue may be the primary cause. Only after these are cleared should you condemn the shocks.
Match the Replacement Shock Type to the Vehicle's Real Duty Cycle
Shock construction should follow how the vehicle is actually used, not what is cheapest on the shelf. This is the second decision, and it is the one most how-to pages skip.
Twin-tube shocks use an inner and outer fluid chamber and generally deliver a compliant ride at lower cost. Monotube shocks use a single high-pressure gas chamber and a larger piston, which dissipates heat more effectively under sustained load — relevant for towing, hauling, and repeated rough-road use where fluid aeration would otherwise fade damping.
Banded shocks require specific handling. The band holds the rod compressed so the shock is short enough to fit into the mounting position. Do not cut the band before the shock is positioned and at least partially secured. Once the band is cut, the rod extends under gas pressure and the shock becomes difficult to maneuver into place.
Replace in matched pairs. Damping balance left-to-right is what keeps the rear axle planted under cornering and braking. A new shock on one side and a worn shock on the other creates mismatched damping, which can produce uneven load transfer, unpredictable rear behavior in emergency maneuvers, and ride-quality complaints the driver will attribute to the new part. Pair replacement also keeps the warranty and ride-quality expectations consistent across the axle.
Reusing worn upper and lower mounts, bushings, and hardware undermines a new shock install. A compressed or cracked bushing cannot isolate road noise the way a new one does, and it is a common comeback cause. If the mounts show deformation, cracking, or missing washers, replace them with the shocks.
Tools, Supplies, and Safety Preparation Before the Wrench Moves
Gather the full tool set before lifting the vehicle so the job does not stall mid-procedure. You will need a floor jack, jack stands rated for the vehicle's weight, a lug wrench, a metric socket set, a torque wrench, penetrating oil, a wire brush, and replacement hardware as needed. Eye protection is required when cutting shock bands.
Safety rules are not optional here. Support the vehicle on jack stands on a level, hard surface. Never work under a vehicle held only by a jack. Chock the front wheels. When cutting a band, wear eye protection and keep your face clear of the shock's travel path.
Apply penetrating oil to the upper and lower mounting fasteners and let it soak before attempting removal. Corroded hardware is the most common reason a rear shock job turns into a broken-bolt extraction. A wire brush on exposed threads after the oil soak improves tool engagement.
Confirm the replacement shocks match the vehicle's fitment and include any required mounts, bushings, or hardware before starting. If the new shocks do not include the correct bushing stack, order it now rather than discovering the gap with the vehicle on stands.
Step-by-Step Rear Shock Replacement Procedure
Step 1: Prepare the Vehicle
Park on a level, hard surface. Loosen the rear lug nuts a quarter turn while the vehicle is on the ground. Lift the rear of the vehicle with a floor jack under the specified lift point, place jack stands under the axle or the manufacturer's support locations, and lower the vehicle onto the stands. Remove the rear wheels.
Step 2: Remove the Old Shocks
Support the rear axle with the floor jack so it does not drop when the shocks are disconnected. Remove the upper and lower mounting fasteners. On many vehicles the upper mount is accessed from inside the wheel well or through the trunk floor; on others it is a stud through the body. Note the orientation of every bushing, washer, and nut before removal — photograph it if needed. Inspect the mounts and bushings for cracking, compression, or missing hardware. With the shock removed, inspect the springs, bump stops, and trailing arm bushings for wear or damage.
Step 3: Install the New Shocks
Position the new shock in the upper mount first, then align the lower eye to the axle mount. Install mounting hardware finger-tight. On banded shocks, cut the band only after the shock is secured in both mounts. Confirm the bushing and washer stack matches the original orientation. Do not fully tighten yet if the service procedure requires torquing at ride height.
Step 4: Torque to Spec
Tighten fasteners to the manufacturer's torque values with the vehicle at ride height where the service procedure requires it. Torquing at full droop pre-loads the bushings and shortens their life. Use a calibrated torque wrench — not an impact gun — on the final pass.
Torque Specifications and Fastener Verification
Torque specs vary by vehicle and by fastener location. Upper and lower shock mounts often have different values, and the upper mount on a stud-type design may have a lower spec than the lower eye bolt. The table below is a general reference only. Verify every value against the specific vehicle's service information before tightening.
| Vehicle / Platform | Upper Mount (typical range) | Lower Mount (typical range) | Notes |
|---|---|---|---|
| Compact sedan, stud-type upper | 15–25 ft-lb | 40–55 ft-lb | Torque lower at ride height |
| Mid-size SUV, eye-type upper | 35–50 ft-lb | 55–75 ft-lb | Check for separate nut and bolt specs |
| Full-size truck, heavy-duty | 50–70 ft-lb | 75–100 ft-lb | Verify against service data |
| Unibody crossover | 20–35 ft-lb | 40–60 ft-lb | Do not reuse deformed washers |
Over-torquing can strip threads or stretch a fastener past its elastic limit, leaving it prone to failure. Under-torquing allows the shock to shift in the mount, which produces noise and accelerates bushing wear. Torque with the vehicle at ride height where the service procedure requires it so the bushings are not pre-loaded at full droop.
Post-Installation Checks, Test Drive, and Related Component Inspection
After the install, verify every fastener is torqued to spec, all band material is fully removed from the shock body, and no brake lines, ABS wiring, or fuel lines are pinched or routed against the new shock. Spin the wheels by hand to confirm nothing contacts the tire or wheel.
Test drive procedure: start at low speed in a parking lot and listen for unusual noises over bumps. Gradually increase speed and check for body roll in corners and nosedive under braking. A new set of shocks should feel controlled without being harsh. After the drive, re-check fastener torque — a new shock can settle slightly and loosen a mount.
While the shocks were off, you had access to related components. If the trailing arm bushings showed cracking or separation, replacing them now avoids a repeat job. The Rear Trailing Arm Bushing — 55274-2W000 and Rear Trailing Arm Bushing — 55274-D3000 are examples of the bushing designs used on Hyundai and Kia rear suspensions. Re-check ride height and have an alignment performed if the suspension was disturbed enough to change rear toe or camber.
Common Installation Mistakes and Troubleshooting
Cross-threaded mounts are the most frequent error. They happen when a fastener is started by hand at an angle or when a misaligned shock is forced into position. If a thread is damaged, chase it with the correct tap or replace the hardware. Do not force a cross-threaded nut — it will strip the stud.
Incorrect bushing stack-up causes noise, poor ride, and premature bushing failure. The order of washers, bushings, and cups matters, and it differs between stud-type and eye-type mounts. If the new shock came with a diagram, follow it. If not, match the original stack exactly.
Over- or under-torqued fasteners lead to stripped threads, stretched bolts, or loose mounts. Use a torque wrench on the final pass and verify against the vehicle's service data.
Reusing worn mounts and bushings is a common cause of noise and ride complaints after a new shock install. If the upper mount plate is deformed or the bushing is compressed, replace it. A new shock cannot compensate for a failed mount.
Disposal, Recycling, and When to Hand the Job Off
Old shocks contain hydraulic fluid and pressurized gas. Dispose of them at a recycling center or an auto parts store that accepts used suspension components. Do not puncture or cut a pressurized shock body — the gas can release forcefully. Follow local regulations for hazardous waste.
Hand the job off if the vehicle has severe corrosion, seized fasteners that will not break loose with penetrating oil and heat, or if you lack a torque wrench and safe lifting equipment. If the diagnosis is uncertain or related components such as trailing arm bushings, control arms, or springs are worn, a professional inspection may be the better decision. The Rear Assist Arm — 55250-2S000 and Rear Assist Arm — 55250-2S100 are examples of rear suspension links that, when worn, can mimic shock symptoms.
Frequently Asked Questions
Can I replace just one rear shock? No. Replace in matched pairs to preserve left-to-right damping balance. A single new shock creates uneven load transfer and unpredictable rear behavior.
How long does a rear shock replacement take? On most vehicles with accessible upper mounts, a DIY install takes 1–2 hours per side with hand tools. Vehicles with upper mounts inside the cabin or behind trim take longer.
Do I need an alignment after replacing rear shocks? Not always, but if the suspension was disturbed enough to change rear toe or camber, an alignment check is cheap insurance against uneven tire wear.
How do I know if my rear shocks are bad? Look for fluid leakage, cupping or uneven rear tire wear, excessive body roll, and nosedive under braking. The bounce test helps but is not definitive on its own.
Can I reuse the old mounting hardware? Only if it is in good condition. Worn bushings, deformed washers, and stretched nuts should be replaced with the shocks.
Conclusion: A Controlled Rear End Starts With the Right Diagnosis
Rear shock replacement is a diagnostic-and-decision process, not just a parts swap. Confirm the shocks are the failed component before buying anything, match the replacement type to how the vehicle is actually used, torque every fastener to the correct spec at ride height, and inspect related suspension components while you have access. Done in that order, the job delivers the controlled, planted rear end the driver expects — and avoids the comebacks that come from guessing.