How to Check Suspension Parts Quality: A Manufacturer's Guide
Quality in suspension parts is not just about brand or price; it's about verifiable manufacturing standards and material integrity. This guide provides practical inspection steps and supplier due diligence to help you distinguish genuine quality from counterfeit or substandard parts.
Why Suspension Parts Quality Matters
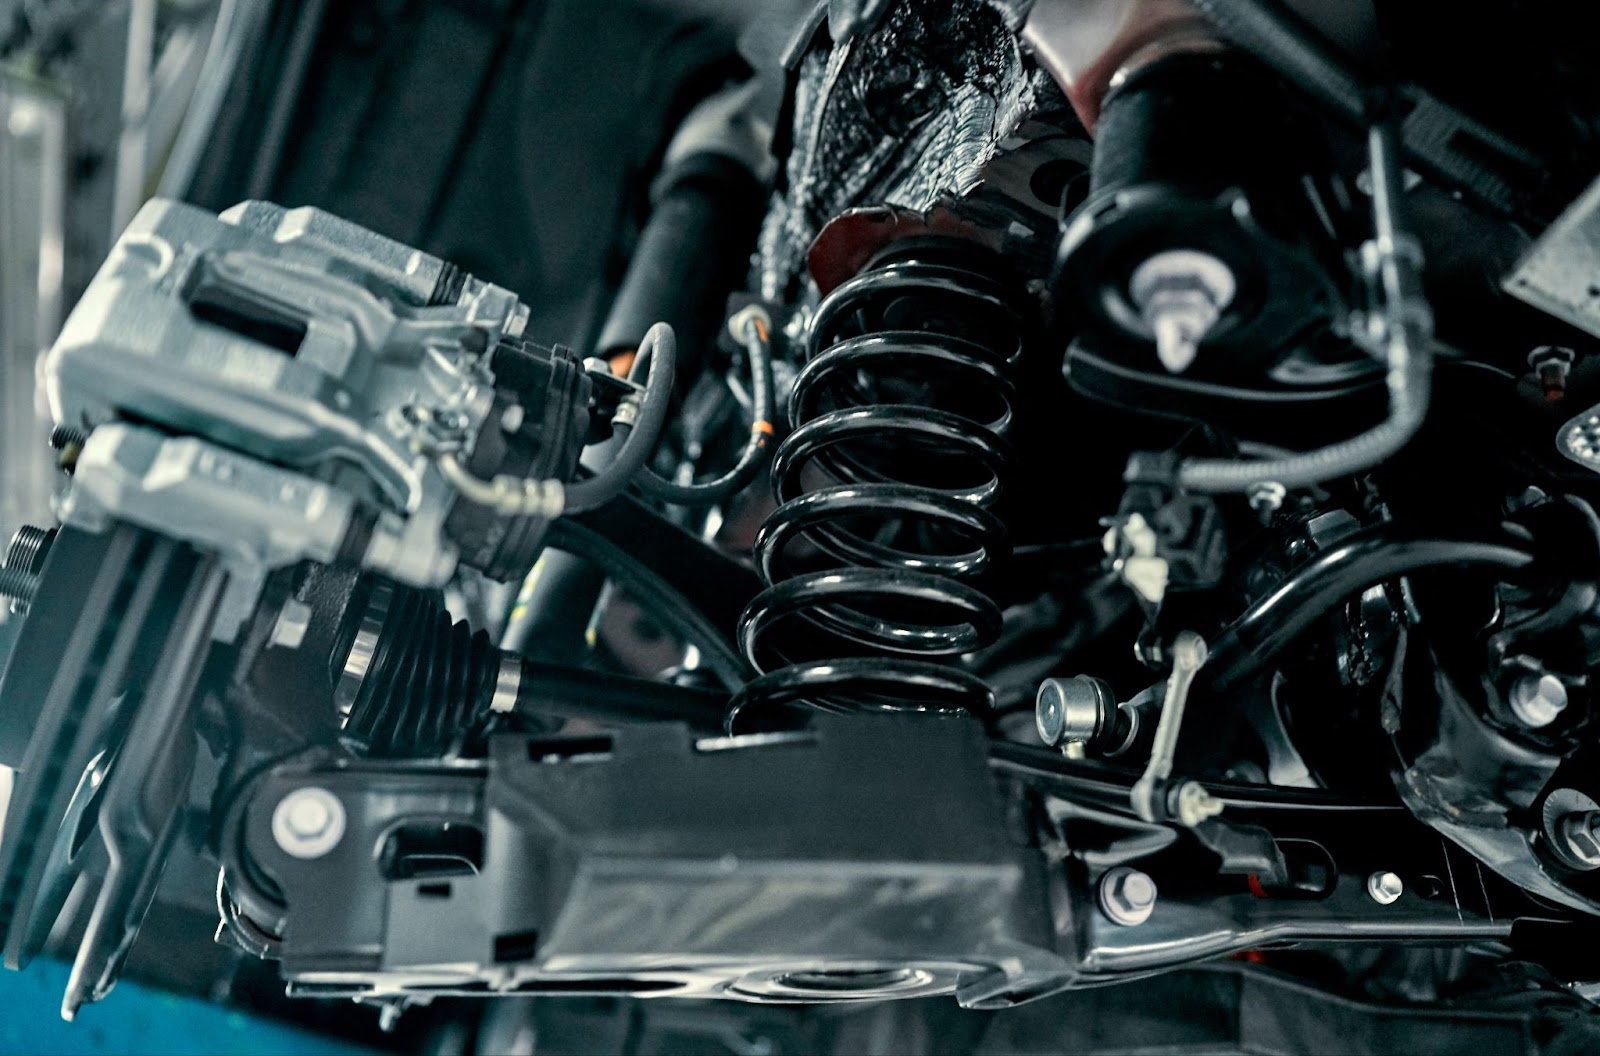
Low-quality suspension parts compromise safety, performance, and cost-efficiency. A failed ball joint or control arm can cause loss of control, leading to accidents. Inferior materials wear faster, degrading ride comfort, handling, and tire life. Repeated replacements and labor costs quickly exceed the initial savings. For a manufacturer, quality is non-negotiable—our [automotive suspension components](/products) are built to meet or exceed OEM standards.
Signs Your Suspension Parts May Be Worn
Recognizing symptoms early prevents further damage and helps you evaluate part quality. Common signs include uneven tire wear, knocking noises over bumps, excessive bouncing, steering wander, and vibrations at speed. Perform a basic bounce test: push down on each corner of the car; if it continues to bounce after release, shocks or struts may be worn. Visually inspect for fluid leaks on shocks/struts, cracked or deteriorated bushings, and torn boots on ball joints or tie rods. Inspect every 50,000 miles or during tire rotations.
How to Inspect Suspension Parts: Step-by-Step
Visual Inspection
Start with a visual check of all suspension components. Look for:
- Shocks/struts: fluid leaks, damaged mounts, or dents.
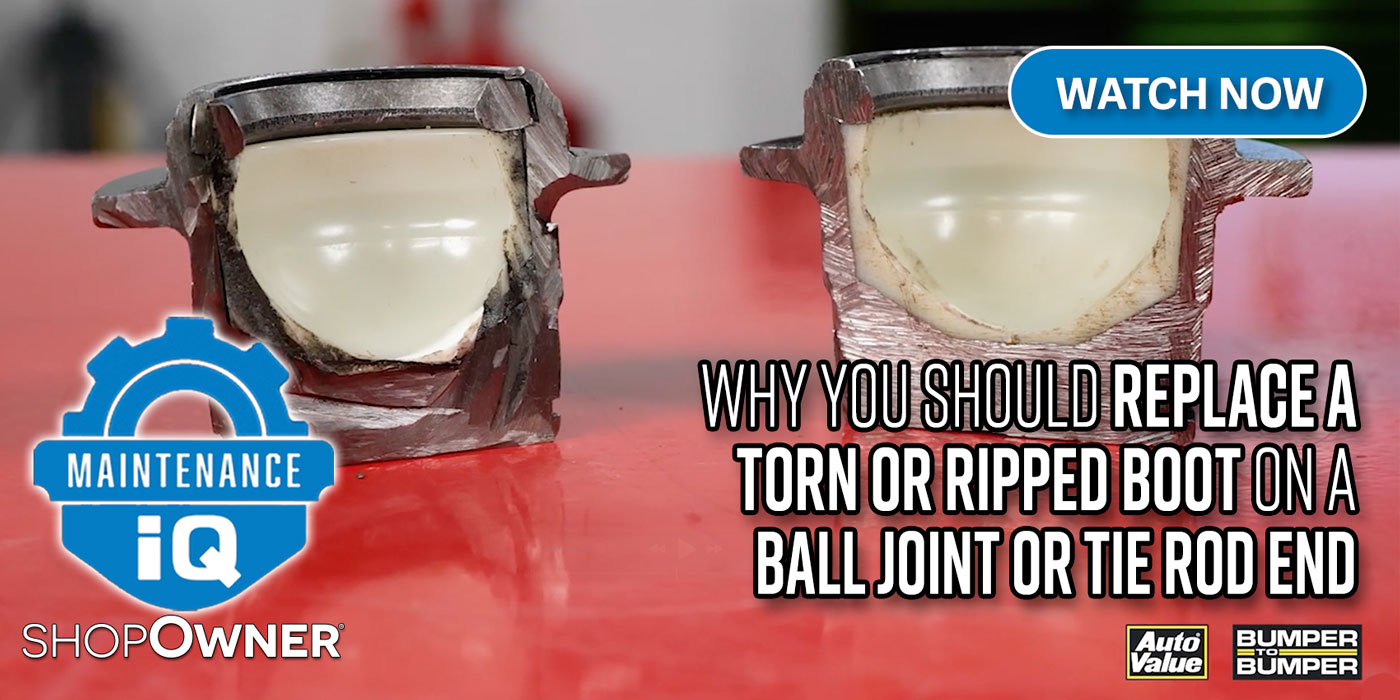
- Ball joints: torn boots, grease leakage, or excessive play.
- Tie rods: torn boots, bent ends, or play.
- Bushings: cracks, chunks missing, or excessive movement.
Use a flashlight to inspect hard-to-see areas. Any of these signs indicate wear and potential quality issues.
Bounce Test
With the car on level ground, press down firmly on each corner and release. The car should settle quickly and stop. If it continues to bounce more than 1-2 times, shocks or struts are likely worn. This test helps assess damping performance, a key quality indicator.
Checking Specific Components (Ball Joints, Tie Rods, Bushings)
- Ball joints: Raise the vehicle and use a pry bar to apply leverage between the control arm and steering knuckle. Excessive play indicates wear. Inspect the boot for tears or cracks.
- Tie rods: Grasp the tie rod and attempt to move it up and down; any play indicates wear. Check the boot for damage.
- Bushings: Visually inspect for cracks, deterioration, or separation. Use a pry bar to check for excessive movement. Worn bushings can cause alignment issues and noise.
What Makes a Suspension Part High-Quality?
Materials and Manufacturing
High-quality parts use forged steel or aluminum for strength and durability. Low-quality parts may use cast iron or inferior alloys that are prone to cracking. Examine welds: smooth, consistent welds indicate quality; rough or uneven welds suggest substandard manufacturing. Quality parts have corrosion-resistant coatings like zinc or powder coating. Clear part numbers and manufacturer logos are marks of authenticity.
Certifications and Standards
Look for certifications like ISO 9001 (quality management) and IATF 16949 (automotive quality). These ensure consistent manufacturing processes. SAE standards apply to specific components. Verify a manufacturer's certifications by requesting documentation or checking their website. Our [quality control](/quality) processes align with these standards.
OEM vs Aftermarket: Quality Differences
OEM parts are made to exact specifications, often higher quality but more expensive. Aftermarket parts vary widely; some match or exceed OEM, while others are substandard. Choose reputable aftermarket brands with certifications. For example, our [Large suspension bushing](/products/bushing-001-2) and [control arms](/products/control-arm-001) are designed to meet OEM standards.
How to Avoid Low-Quality Parts
Counterfeit and substandard parts pose safety risks. Check packaging for quality and consistency—logos, part numbers, and barcodes should be clear. Examine labeling for spelling errors or missing manufacturer info. Verify supplier credentials: check for authorized distributor status, request certificates, and review their reputation. Be wary of prices significantly lower than market average—if it seems too good to be true, it likely is.
When to Replace Suspension Parts
Replace parts when inspection reveals wear or damage. Follow manufacturer recommendations: typically every 50,000-100,000 miles for shocks/struts, but inspect bushings and ball joints regularly. If you notice symptoms like noise or uneven tire wear, inspect immediately. Replacing worn parts promptly prevents further damage and maintains safety.
Frequently Asked Questions
How often should I inspect my suspension?
Inspect every 50,000 miles or during tire rotations, and whenever you notice symptoms.
Can I inspect suspension parts myself?
Yes, with basic tools and safety precautions. Use a jack and stands, and follow the steps above.
What are the risks of using low-quality parts?
Premature failure can lead to loss of control, accidents, and costly repairs.
How can I verify a part's quality?
Check for certifications, inspect materials and welds, and buy from reputable suppliers.
Conclusion
Checking suspension parts quality is essential for safety and performance. By following the inspection steps and understanding quality indicators, you can make informed decisions. Always prioritize quality over cost, and verify supplier credibility. For reliable components, explore our [automotive suspension components](/products) and learn more about our [manufacturing facility](/manufacturing).