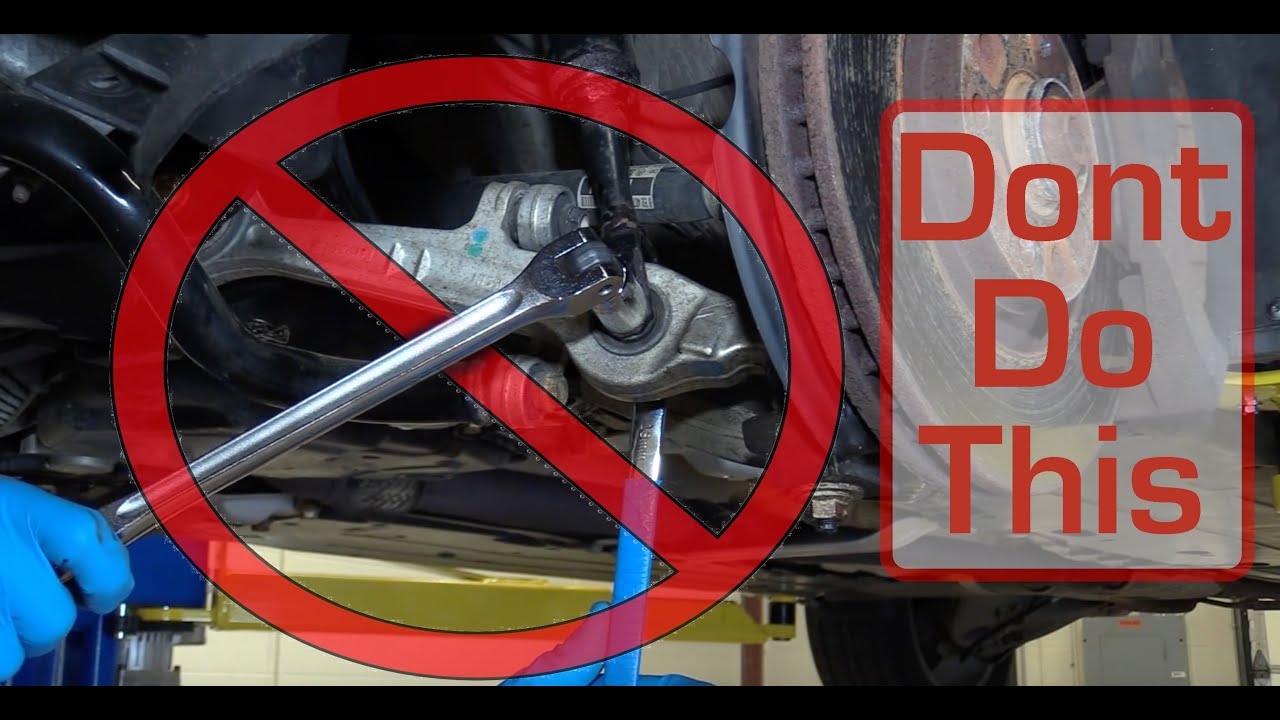
Control Arm Bushing Preload: The Ride-Height Clamping Step Most DIYers Skip
Control arm bushing preload is the suspension position at which you tighten the bushing's pivot bolt — not the torque value you apply. You clamp the bushing while the suspension is compressed to its normal resting ride height, so the rubber or polyurethane sits neutral at rest. Torque controls clamping force. Ride-height position controls where the bushing's internal twist lives. Those are two separate decisions, and most DIYers only make the first one.
Torque the pivot bolt at full droop — wheels hanging, suspension fully extended — and the bushing is already twisted the moment the car settles onto its wheels. That stored twist is the preload error. It doesn't announce itself at the torque wrench. It shows up months later as torn rubber, wandering steering, and alignment numbers that won't hold.
Preload Is a Clamping Position, Not a Torque Number
The pivot bolt's torque spec and the preload position answer different questions. Torque asks: how hard do I clamp the inner sleeve so it doesn't slip? Preload asks: at what suspension angle do I lock that clamp so the bushing is neutral when the car sits at rest?
A rubber control arm bushing is bonded — the rubber is vulcanized between an inner sleeve and an outer shell. It doesn't rotate freely; it flexes by twisting. That twist is designed to happen through a limited range as the suspension moves. When the car sits at ride height, the bushing should be at zero twist. Every bump and corner then rotates it in both directions from that neutral point.
Clamp it at full droop and you've shifted the neutral point. At ride height, the bushing now sits permanently twisted in one direction. It has no travel left in that direction and double the travel in the other. The rubber is working against itself before the car has moved an inch.
This is why the sequence matters more than the number. You can hit the exact factory torque spec and still destroy the bushing in 10,000 miles if you applied it at the wrong suspension position. The torque wrench tells you the clamp is tight. It says nothing about whether the bushing is neutral.
What Fails When You Torque in the Air: Twist, Tear, and Memory Set
A bushing clamped at full droop sits pre-twisted at ride height, and that stored twist accelerates rubber tearing while causing "memory set" — the bushing takes a permanent deformed shape and stops returning to neutral. Rubber that lives under constant torsional load fatigues faster than rubber that cycles around a neutral point. The failure mode is predictable: cracking begins at the bonded edges, the center sleeve shifts off-center, and eventually the rubber separates from the sleeve or shell.
Memory set is the quieter problem. Even before the rubber cracks, a bushing that's been twisted at rest takes a set — it stops springing back. The suspension geometry it was supposed to maintain drifts, and the car's handling changes gradually enough that you blame the tires.
Symptoms you'll actually notice:
- Vague or wandering steering, especially on-center at highway speed
- Uneven tire wear, often a feathered or cupped pattern on the inside edge
- Clunks over bumps as the bushing's remaining travel is used up early
- Alignment numbers that won't hold — you set toe and camber, and they drift back within weeks
Polyurethane is not immune. Poly resists compression differently than rubber and usually lasts longer under load, but it still stores torsional twist if clamped off-neutral. A poly bushing torqued at droop will deform, squeak, and eventually crack at the sleeve just like rubber — sometimes faster, because poly has less compliance to absorb the constant twist.
Rubber vs Polyurethane: Which Bushings Need Preload and Which Don't
Standard rubber control arm bushings and most polyurethane control arm bushings are bonded or captured, and they DO need ride-height preload. The decision test is simple: does the bushing resist rotation by design, or is it free to rotate?
If the bushing resists rotation — bonded rubber, captured poly, press-fit sleeve — it relies on torsional flex to allow suspension movement. That flex has to start from neutral. Preload it at ride height.
If the bushing is designed to rotate freely about its axis — donut-style bushings and certain rotational designs — it does not need the same preload treatment. These bushings are meant to pivot, not twist. Clamping them at ride height is harmless, but it isn't the same procedure, and treating a free-rotating bushing like a bonded one can mask a different problem.
When you buy replacement bushings, check the construction before you assume. A bonded rubber bushing and a free-rotating poly bushing look similar on the bench but behave completely differently once installed. If the manufacturer's instructions specify a preload or ride-height torque procedure, follow it. If they specify a free-rotating design, don't invent a preload step that isn't there.
Loading the Suspension at Ride Height Without a Lift
You don't need a two-post lift to set preload correctly. You need the suspension compressed to its normal resting position before you tighten the pivot bolts. Three methods work in a home garage.
Method 1 — Jack stands under the control arm or knuckle
Raise the vehicle and support it on stands under the frame. Then use a floor jack under the control arm or knuckle to lift the suspension until the arm sits at its normal resting angle — the angle it would hold with the car on the ground. Tighten the pivot bolts at that position. This is the most controlled method because you can watch the arm angle as you load it.
Method 2 — Ramps
Drive or roll the car onto ramps so the wheels carry the vehicle's weight at true ride height. Then reach the pivot bolts from underneath. This is the most accurate method because the suspension is loaded exactly as it sits in service — no guessing at arm angle. It's also the safest, since the car is supported by its own tires.
Method 3 — Loaded-suspension method
With the car on the ground or on ramps, tighten the pivot bolts from underneath using the vehicle's own weight as the reference. This works when you can reach the bolts without lifting the car. It's the simplest method and the one that most closely matches how the factory sets preload on the assembly line.
Warning: never torque at full droop with the wheels hanging. That is the exact error this procedure exists to prevent. If you can't load the suspension, use ramps or stands under the arm — but don't take the shortcut of torquing in the air and hoping the bushing settles.
Lowered Cars: Why Ride Height Changes the Neutral Position
Lowering the car changes the control arm's resting angle, so the bushing's neutral position moves with it. Preloading at stock height is wrong for a lowered car — you'd be setting neutral at an angle the car never sees in service.
The correct reference is the car's actual ride height as driven, not the factory spec height. If you've installed lowering springs, coilovers, or adjustable perches, the arm sits at a different angle than stock. That new angle is where the bushing needs to be neutral.
If the car is corner-weighted or has adjustable coilovers, set preload at the final, as-driven ride height — not an intermediate build height. This matters because corner-weighting changes the load on each corner, which changes the arm angle at each corner. Setting preload before corner-weighting means you'll be re-setting it after. Do the suspension work, set the ride height, corner-weight if applicable, then set preload last.
For a mildly lowered car on stock-style springs, the same rule applies in simpler form: put the car on ramps or load the suspension to its new resting angle, then tighten. The principle doesn't change — only the reference height does.
Verifying Preload After Install: Visual Check, Re-Torque, Road Test
After you've set preload, verify it before you call the job done. The verification loop has three steps.
Visual check: with the car at ride height, the bushing should sit neutral — no visible twist or stretched rubber on one side. Look at the bonded edges. If one side of the rubber is compressed and the other is stretched, the bushing is preloaded wrong. On a poly bushing, check that the sleeve sits centered and the bushing isn't cocked in the arm.
Re-check torque at ride height after the first drive. Suspension settling can change clamping load. Drive the car normally for a short distance, then re-check the pivot bolt torque with the car at ride height. This catches the case where the bushing settled into a slightly different position after the first few bumps.
Road-test symptoms that indicate a preload error: wander, clunks over bumps, and uneven tire wear appearing over the following weeks. If the car tracks straight and quiet over bumps, the preload is likely correct. If it wanders or clunks, re-check the bushing position before you start replacing other parts.
When to Skip Preload — and When Skipping It Will Cost You a Bushing
Default rule: set preload at ride height for rubber and most poly control arm bushings. That covers the overwhelming majority of passenger cars and light trucks.
Exception: skip preload only for bushing designs that rotate freely by intent — donut-style and certain rotational bushings. These are designed to pivot, not twist, and the preload procedure doesn't apply the same way.
If you can't load the suspension, use ramps or stands under the arm. Torquing at full droop is the one shortcut that guarantees premature failure. It costs you nothing to do it right and costs you a bushing — plus an alignment and a second teardown — to do it wrong.
The procedure is simple: load the suspension to ride height, tighten the pivot bolts, verify the bushing sits neutral, and re-check after the first drive. That's the whole job. The torque spec is just one number in it.
FAQ
Does preload apply to rear trailing arm bushings?
Yes, if the bushing is bonded or captured. Rear trailing arm bushings on Hyundai and KIA models, for example, are typically bonded rubber and need ride-height preload just like front control arm bushings. The same rule applies: tighten at the suspension's resting angle, not at full droop.
Can I set preload with the car on jack stands?
Yes, if you load the suspension to ride height first. Support the car on stands under the frame, then use a floor jack under the control arm or knuckle to lift the suspension to its normal resting angle before tightening. Ramps are more accurate because the car's own weight sets the height.
What happens if I torque at full droop?
The bushing sits pre-twisted at ride height. That stored twist accelerates rubber tearing, causes memory set, and produces vague steering, uneven tire wear, and alignment drift. Poly bushings deform and crack the same way, sometimes faster.
Do polyurethane bushings need preload?
Most do, if they're bonded or captured. Poly resists compression differently than rubber but still stores torsional twist if clamped off-neutral. Check the manufacturer's instructions — free-rotating poly designs are the exception.
How do I know if my bushing is preloaded correctly?
With the car at ride height, the bushing should sit neutral — no visible twist or stretched rubber on one side. Re-check torque after the first drive, and watch for wander, clunks, or uneven tire wear over the following weeks.