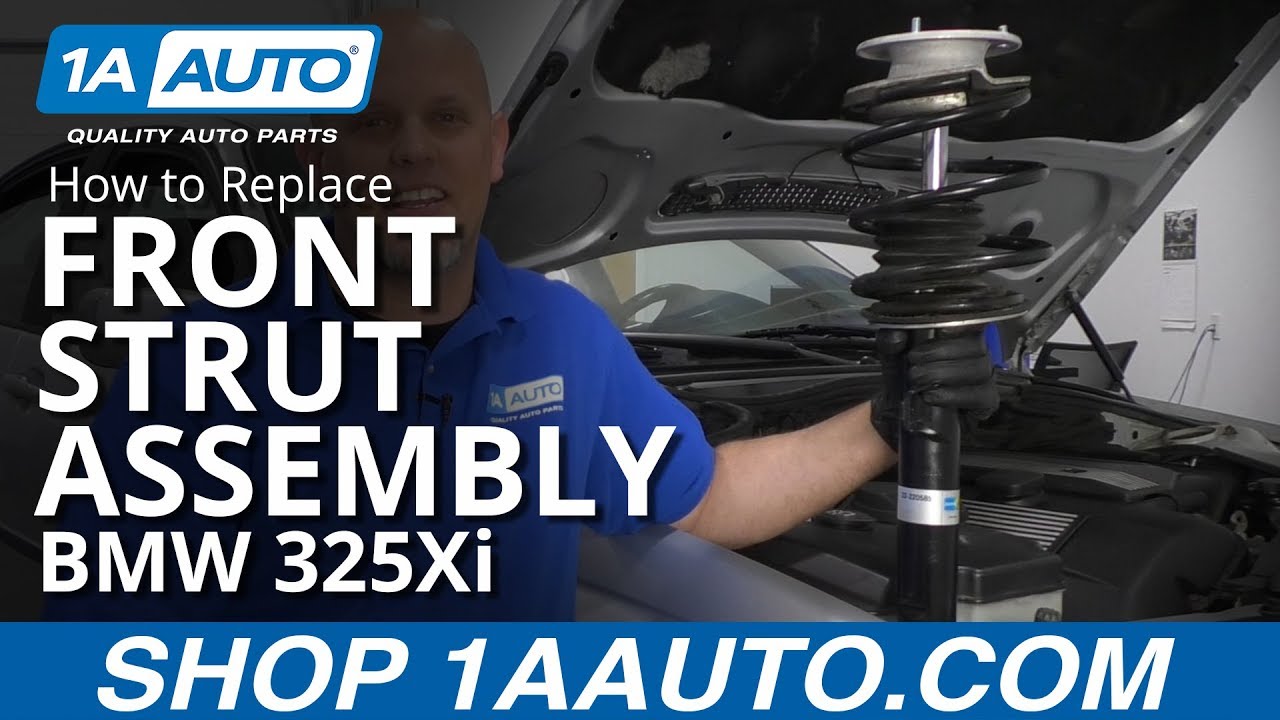
Strut Mount Replacement on a BMW 325Xi: Mounts-Only or Full Assembly?

If your E46 325Xi has original struts past 100,000 miles, replace the full assembly. If the struts are recent and dry, replace the mounts and all related hardware. That is the decision rule. Symptoms, torque specs, and alignment all follow from it.
The question searchers actually type — "Can I replace strut mounts without replacing struts?" — has a conditional answer. Mounts-only makes sense only when the damper is known-good: no leaks, no bouncy ride, no excessive rebound, and documented replacement within the last 30,000–40,000 miles. In that narrow case, pressing a new mount onto a healthy strut is efficient and cost-effective.
The math changes on rust-belt cars. Corroded pinch bolts, seized top nuts, and pitted spring perches often turn a mounts-only job into a second teardown. If the strut-to-knuckle pinch bolt is rust-welded, you may need heat, a breaker bar, or cutting — and that is before you discover the strut shaft is pitted under the mount. Full assembly replacement eliminates that risk because you are not reusing the damper or its hardware.
The One Big Idea: the mount is rarely the only worn part. At 100,000+ miles, the damper has lost a significant portion of its damping capability even if it is not leaking. Pressing a new mount onto a worn damper means you will be back in the same wheel well within a year. The labor is already paid — do the complete job once.
Decision Framework: Mounts-Only vs. Full Assembly
Use mileage, strut condition, and corrosion to choose. Do not decide on the mount alone.
- Under 80,000 miles, struts dry and firm: mounts-only plus hardware.
- 80,000–120,000 miles, strut condition unknown: full assembly.
- Over 120,000 miles, any strut condition: full assembly.
- Any mileage, leaking or bouncy strut: full assembly.
- Rust-belt car with corroded hardware: full assembly.
Xi-Specific Symptoms: Separating Mount Noise From Sway Bar Links, Control Arms, and Bearing Plates
Front xi mount failure produces a clunk over expansion joints, steering wander, and noise that changes with steering input. Sway bar link rattle is constant over small bumps. Control arm bushing clunk appears during braking or acceleration. Bearing plate noise is a spring twang when turning. These are four different failures, and misdiagnosing them wastes money.
Rear xi top-mount noise appears behind the seatback — often mistaken for rear shock mounts or trailing arm bushings. On xi models, the rear strut mount sits in a location that transmits noise directly into the cabin, making it sound closer than it is. If the noise is a dull thud over sharp bumps and does not change with load, suspect the rear mount.
Strut bearing plate noise is separate from the rubber mount. The bearing plate allows the strut to rotate with steering input. When it fails, you hear a twang or pop when turning the wheel at low speed. Rule this in or out before ordering parts — a new mount will not fix a bad bearing plate.
Diagnostic order: sway bar links → control arm bushings → bearing plates → mount. The first three are cheaper and faster to check. Sway bar links are visual — look for torn boots or play. Control arm bushings show cracking or separation. Bearing plates are checked by turning the wheel and listening. Only after ruling those out should you commit to mount replacement.
Torque Specs and Hardware Checklist: Front and Rear E46 325Xi Strut Mounts
Front:
- Strut-to-knuckle pinch bolt: 81 Nm (60 ft-lb)
- Upper strut mount nuts (three): 34 Nm (25 ft-lb)
- Strut shaft top nut: 46 Nm (34 ft-lb) — use a pass-through socket or offset wrench to hold the shaft
- Torque the pinch bolt at ride height where applicable
Rear:
- Upper shock mount nuts (two): 34 Nm (25 ft-lb)
- Lower shock bolt: 100 Nm (74 ft-lb)
- Xi-specific access: remove the interior trim panel behind the seatback to reach the top mounts
Hardware to replace while the strut is out:
- Top nuts and washers (both front and rear)
- Bump stops
- Dust boots
- Any corroded pinch bolts — do not reuse
Final torque on rubber-bushed joints should be applied at ride height to avoid pre-loading the bushing. This is critical for the lower shock bolt and any control arm fasteners you touch.
OEM vs. Aftermarket Mounts: Rubber, Bearing Plate, and Coating
Rubber hardness and compound differences affect NVH and service life. OEM mounts are typically tuned to the original ride quality — softer rubber for comfort, stiffer for sport. Aftermarket mounts vary. Look for mounts that specify rubber durometer or compound type. If the listing does not state it, assume it is a generic replacement.
Bearing plate design is a real differentiator on the front xi mount. Sealed bearings resist water and road salt better than open designs. Metal bearing plates are more durable than composite in rust-belt conditions. Inspect the bearing plate before installation — it should rotate smoothly with no play.
Corrosion coating on the mount plate matters for rust-belt cars. A painted or coated steel plate will outlast a bare one. If you live where roads are salted, this is not a cosmetic detail.
Avoid naming specific aftermarket brands' durability unless the supplier provides test data. Instead, compare construction: sealed vs. open bearing, coated vs. bare plate, specified vs. unspecified rubber. Those are observable differences you can verify before purchase.
Front and Rear Replacement: Steps, Pitfalls, and Hardware
Spring compression safety: use a quality compressor, keep the spring in the compressor until the mount is seated, and never point the assembly at yourself. A compressed spring stores enough energy to cause serious injury. If you are not confident, take the assembly to a shop for mount pressing.
Rusted pinch bolts and top nuts: apply penetrating oil the day before, use heat where safe (avoid heating the strut body), and plan to replace them — not reuse. A rusted pinch bolt that snaps during removal turns a two-hour job into a two-day job.
Rear xi access: remove the interior trim behind the seatback to reach the top mounts. On xi models, the fuel tank and drivetrain components limit access. Work carefully and do not force trim clips.
Replace bump stops, dust boots, and all nuts and washers during reassembly. These are inexpensive and failure-prone. Reusing a worn bump stop can cause the strut to bottom out and damage the new mount.
Alignment After Replacement: What Changes on an Xi Front Strut
Camber and toe should be checked after any strut mount or assembly replacement because the strut-to-knuckle interface sets camber. On the xi front strut, the geometry and mounting differ from a standard E46. The alignment tech needs to know it is an xi — the specs are different.
Searchers ask "Do I need an alignment after strut mount replacement?" Yes. Even if you mark the camber bolt before removal, the act of loosening and retorquing the strut-to-knuckle bolts changes camber. Toe is affected because the strut position influences steering angle.
Skip alignment only if the strut-to-knuckle bolts were never loosened and the mount was replaced in situ — and even then, a check is cheap insurance. A misaligned front end will wear tires and affect steering feel.
Cost Benchmarks: Parts vs. Labor
Searchers ask "What is the cost to replace strut mounts on a BMW 325xi?" Provide a parts vs. labor split, not a single number.
Parts:
- Mounts-only: $60–$120 per pair (aftermarket) to $150–$250 (OEM)
- Full assembly: $200–$400 per pair (aftermarket) to $400–$700 (OEM)
- Hardware kit (nuts, washers, bump stops, boots): $40–$80
Labor:
- Front: 2–3 hours per side
- Rear: 1.5–2.5 hours per side
- Rust can add hours — seized bolts, broken hardware, and corroded mounts increase time
Wholesale/importers should benchmark by kit contents (mount + hardware + bump stop + boot) rather than mount alone. A kit that includes all wear items reduces comebacks and simplifies inventory.
Preventive Schedule and Final Checks
Inspect mounts at every oil service past 100,000 miles, and any time the strut is out for another reason. Look for cracked rubber, bearing play, and corrosion on the mount plate.
Post-job checks: re-torque after 50–100 miles, listen for new noises, and confirm alignment printout is within spec. Re-torquing is critical for the strut-to-knuckle pinch bolt and the upper mount nuts.
Replace mounts proactively when replacing struts — the labor is already paid. If you are installing new struts, new mounts cost little extra and save a future teardown.
Keep the old hardware as a reference for the next job if it is not corroded. Thread pitch and length can vary, and having a sample prevents a trip to the dealer.
FAQ
Can I replace just the strut mounts on a 325Xi?
Only if the struts are known-good: no leaks, no bouncy ride, no excessive rebound, and documented replacement within the last 30,000–40,000 miles. Otherwise, replace the full assembly.
Do I need an alignment after strut mount replacement?
Yes. Loosening and retorquing the strut-to-knuckle bolts changes camber, and strut position influences toe. Even if you mark the camber bolt, a check is cheap insurance.
How long does the job take?
Front: 2–3 hours per side. Rear: 1.5–2.5 hours per side. Rust can add hours.
What hardware should I replace while the strut is out?
Top nuts and washers, bump stops, dust boots, and any corroded pinch bolts. Do not reuse corroded hardware.
---
Related