Best Aftermarket Control Arms: A Manufacturer's Guide to Materials, Design, and Performance
The best aftermarket control arms are those that match your vehicle's specific needs, driving conditions, and performance goals—not necessarily the most expensive or popular ones. As a manufacturer of suspension components, we'll guide you through the technical trade-offs, cost considerations, and installation realities so you can make an informed decision.
Signs Your Control Arms Need Replacement
Common symptoms of worn control arms include clunking noises over bumps, uneven tire wear, steering wander, and vibrations. If you notice any of these, inspect the control arms and their bushings.
Visual inspection: Look for cracked or deteriorated bushings, bent arms, or excessive rust. A cracked bushing is a clear sign of wear. Also check the ball joint for play by jacking up the vehicle and using a pry bar to test for movement.
Differentiating from other suspension issues: Control arm problems often mimic tie rod or ball joint issues. A clunking noise when going over bumps could also be a sway bar link. To isolate, check for play in the wheel by grabbing it at 12 and 6 o'clock (vertical) and 9 and 3 o'clock (horizontal). Vertical play suggests a ball joint issue, while horizontal play points to tie rods. If you feel a clunk specifically during acceleration or braking, it may be control arm bushings.
Steel vs. Aluminum vs. Tubular: Material and Design Trade-offs
Steel: Durable, heavy, and cost-effective. Ideal for daily driving, towing, and heavy-duty use. Steel arms are less prone to bending under stress but add unsprung weight, which can affect ride quality and handling.
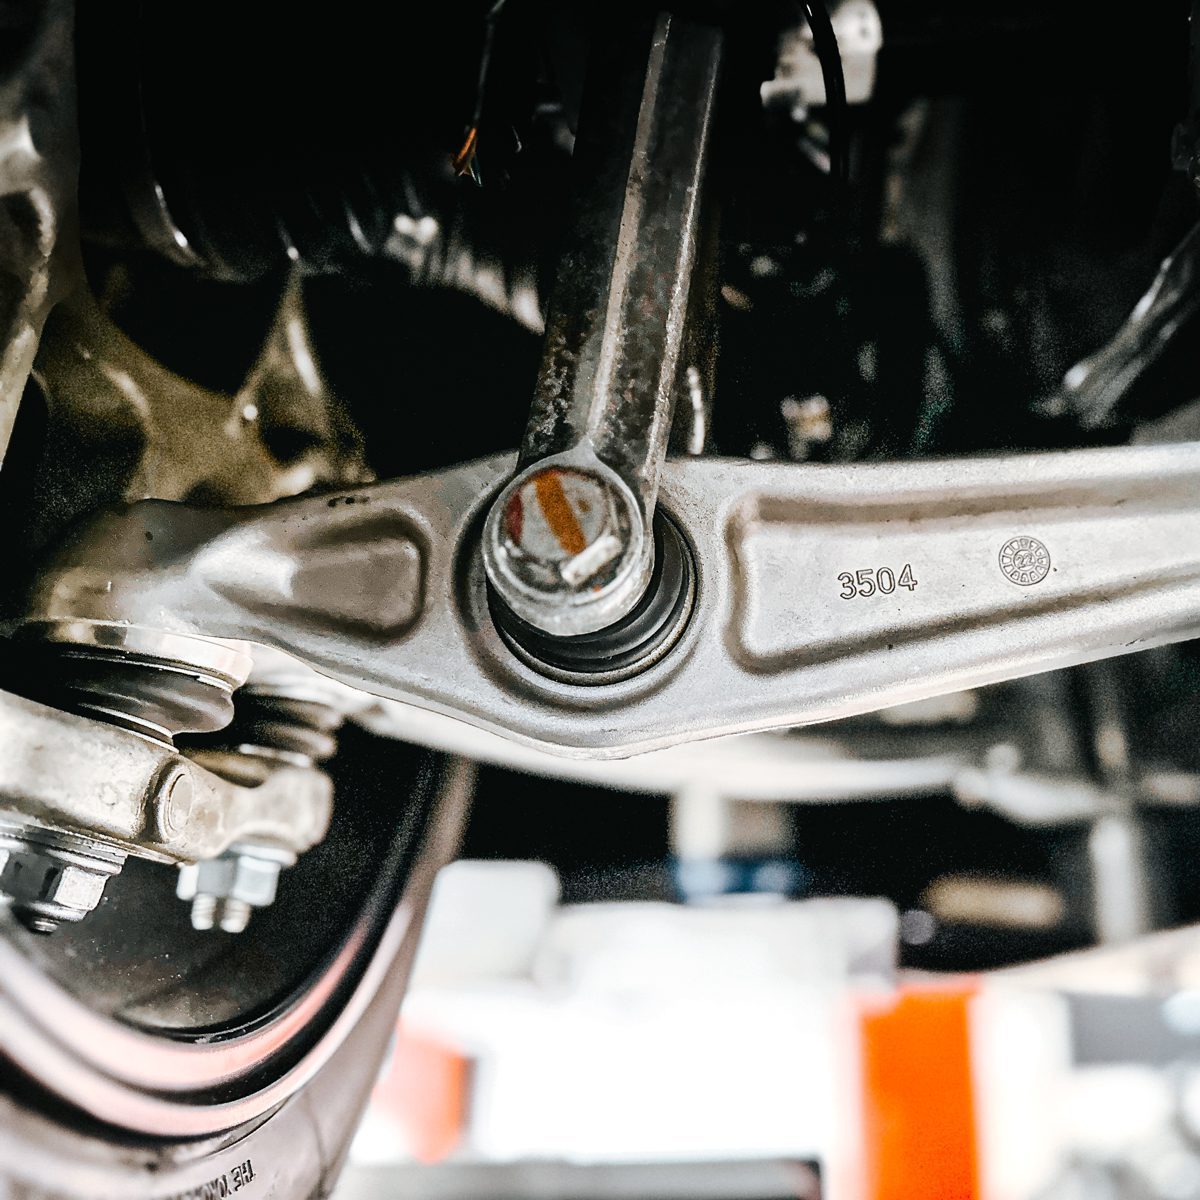
Aluminum: Lightweight and corrosion-resistant, but more expensive and less forgiving. Aluminum arms reduce unsprung weight, improving suspension response, but they can crack under extreme impacts. They are common in performance and luxury vehicles.
Tubular: High strength-to-weight ratio, often adjustable. Tubular arms are typically made of steel or aluminum tubing, offering strength without excess weight. They are popular for off-road and performance applications where adjustability is key.
Design factors: Bushing type (rubber, polyurethane, spherical), ball joint design (serviceable vs. sealed), and adjustability (camber, caster). Polyurethane bushings offer better performance but transmit more NVH. Spherical bearings provide maximum articulation for off-road but require maintenance.
Aftermarket vs. OEM: Cost and Value Breakdown
Price ranges: OEM control arms typically cost $100–$300 per arm for standard vehicles, while aftermarket steel arms range from $50–$150, aluminum from $150–$300, and tubular from $200–$500. Performance-oriented arms can exceed $500.
Long-term value: Aftermarket arms may offer better performance or adjustability, but ensure they meet or exceed OEM specifications. Some aftermarket arms use upgraded bushings or ball joints that last longer.
Warranty and quality: OEM parts come with a vehicle warranty, but aftermarket parts often have their own warranty. Check the manufacturer's warranty and quality certifications. As a manufacturer, we ensure our control arms meet OE specifications and undergo rigorous quality control.
How to Choose the Right Aftermarket Control Arms for Your Vehicle
Identify your vehicle's make, model, and year. This is crucial for fitment. For example, our control arms are designed for specific Hyundai and Kia models, with OEM numbers like 54500-S1AA0 or 54501-S1AA0.
Determine your primary use: Daily driving, off-road, or performance. For daily driving, a quality steel or aluminum arm with rubber bushings is sufficient. For off-road, consider tubular arms with increased articulation. For performance, look for adjustable arms to fine-tune alignment.
Consider adjustability needs: If you need camber or caster adjustment, choose arms with adjustable ball joints or eccentric bushings. This is especially important if you've installed a lift kit or lowering springs.
Check compatibility with lift kits or lowering springs: Some aftermarket arms are designed for specific lift heights. Ensure the arm's geometry is compatible to avoid premature wear or poor handling.
Installation Considerations for DIYers
Tools required: Jack stands, wrenches, sockets, torque wrench, ball joint separator, and penetrating oil. A press may be needed for bushing replacement.
Step-by-step overview:
- Safely lift and support the vehicle.
- Remove the wheel.
- Disconnect the sway bar link if it interferes.
- Unbolt the old control arm from the frame and steering knuckle. Use a ball joint separator if needed.
- Install the new arm, loosely tightening bolts.
- Lower the vehicle to load the suspension, then torque all bolts to spec.
- Get a wheel alignment.
Common challenges: Rusted bolts are the biggest hurdle. Use penetrating oil and heat if necessary. After installation, an alignment is mandatory to prevent uneven tire wear.
When to seek professional help: If you lack the tools or experience, or if the bolts are seized, a professional installation ensures safety and proper torque.
Impact of Control Arm Design on Ride and Handling
Control arm length and angle affect camber and caster. Longer arms can improve camber gain, while the angle of the arm influences caster. Adjustable arms allow you to fine-tune these angles for better handling.
Bushing compliance affects ride quality. Softer bushings (rubber) absorb road imperfections, providing a smoother ride. Stiffer bushings (polyurethane) improve handling precision but transmit more vibration. Choose based on your priorities.
Adjustability features allow you to correct alignment after lifting or lowering, ensuring optimal tire contact and even wear.
Maintenance Tips for Aftermarket Control Arms
Regular inspection: Check bushings and ball joints for cracks, play, or wear every 12,000 miles or during oil changes.
Cleaning and lubrication: If your arms have grease fittings, lubricate them per manufacturer recommendations. Clean off dirt and debris to prevent premature wear.
Checking torque specs: After installation, re-torque bolts after 500 miles, then periodically. Loose bolts can cause clunking and damage.
Signs of wear to watch for: Clunking noises, uneven tire wear, or steering wander indicate worn bushings or ball joints. Address these promptly to avoid further damage.
FAQs
Q: How long do aftermarket control arms last?
A: With proper maintenance, quality aftermarket arms can last as long as OEM—typically 50,000–100,000 miles, depending on driving conditions.
Q: Can I install control arms myself?
A: Yes, if you have mechanical experience and the right tools. However, alignment is required, so budget for that.
Q: What's the difference between upper and lower control arms?
A: Upper arms connect the top of the steering knuckle to the frame, while lower arms connect the bottom. Some vehicles have only lower arms (MacPherson strut).
Q: Are adjustable control arms worth it?
A: If you need to correct alignment after modifications, yes. They offer flexibility but come at a higher cost.
Conclusion: Making the Right Choice
The best aftermarket control arms are those that fit your vehicle, match your driving needs, and are installed correctly. Prioritize quality materials, proper design, and compatibility. Whether you choose steel, aluminum, or tubular, ensure they come from a reputable manufacturer. For a wide range of [automotive suspension components](/products), including [Control Arms](/products?category=control-arms) for Hyundai and Kia, visit our [product page](/products). Our [manufacturing facility](/manufacturing) ensures precision and [quality control](/quality) in every part. Learn more [about our company](/about).