Ball Joint Replacement: Press-In vs Bolt-On vs Riveted
Before you order a ball joint or rent a tool, confirm how the joint attaches to the control arm. The three mounting types are not interchangeable in terms of removal method, hardware, or tooling, and misidentification is the most expensive mistake in this job.
Identify Your Mounting Type Before You Order Anything
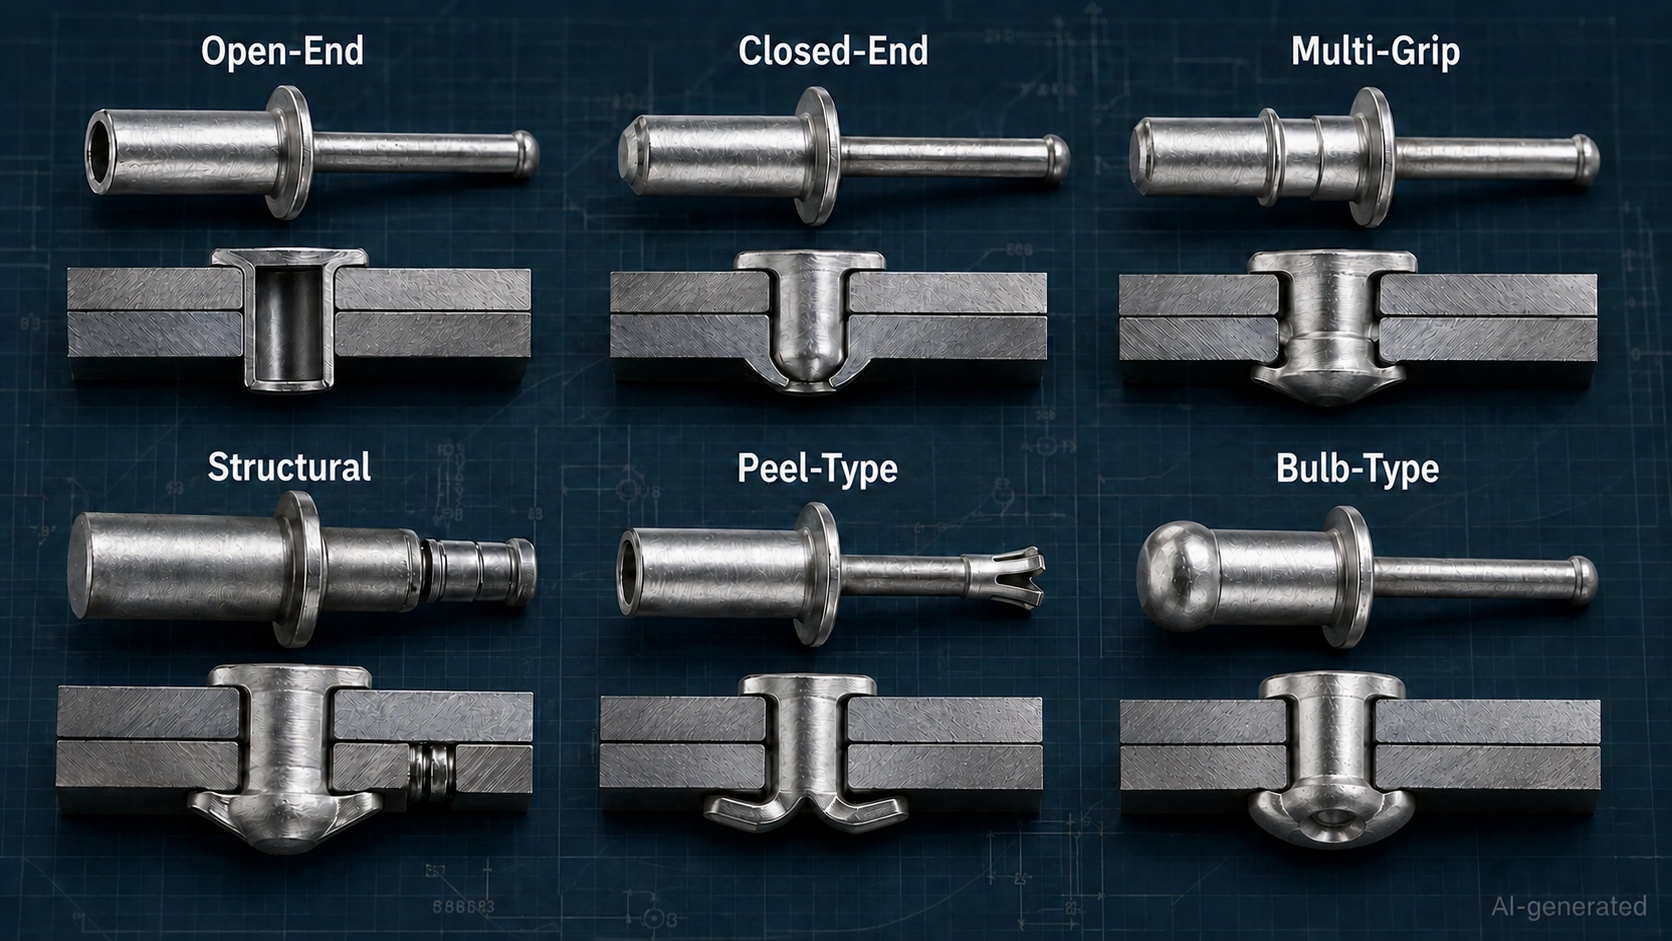
A press-in ball joint has a cylindrical body forced into a machined bore in the control arm. No fasteners hold the joint itself; retention comes from interference fit, sometimes supplemented by a snap ring or staking. A bolt-on ball joint (or its bracket) is fastened to the control arm with 2–4 bolts, making removal and installation hand-tool operations. A riveted ball joint is permanently captured by 3–4 factory rivets through the control arm—there is no threaded fastener to unbolt.
To identify yours, wire-brush the area and look for rivet heads (domed, no hex or Torx), bolt heads (hex or Torx with a matching nut or threaded boss), or a bare cylindrical body pressed flush into the arm. Confirm before ordering using the vehicle's year/make/model/engine and, where available, the control arm casting number or a photo of the joint area. If you are replacing the entire control arm assembly, match the arm to your vehicle using the same year/make/model/engine data—for example, a Control Arm — 54500-CG000 is application-specific and not interchangeable with other Hyundai/Kia arms.
Riveted Ball Joints: Removal Methods, Real Risks, and the Control Arm Damage Warning
Riveted ball joints must be drilled, ground, or chiseled out—there is no unbolting them. Each method carries a specific risk of irreversible control arm damage if you cut, gouge, or heat-warp the arm.
Drilling
Center-punch the rivet head, drill with a bit sized to the rivet shank, and stop when the head separates. Do not drill into the control arm flange.
Grinding
Use a cut-off wheel or grinding disc to remove the rivet head, keeping the wheel parallel to the control arm surface and avoiding the arm itself.
Chiseling
After the head is removed or split, drive the rivet shank out with a pin punch; never pry against the control arm with a chisel as a lever.
Any cut, gouge, heat discoloration, or elongated rivet hole in the control arm compromises its strength and may require arm replacement. Torching rivets can warp the control arm and destroy any rubber bushings or ball joint seals nearby; treat heat as a last resort. If the control arm is damaged during removal, you may need a replacement arm—for instance, a Control Arm — 54500-CG000 for the applicable Hyundai/Kia application.
Converting Riveted to Bolt-On: Hardware, Grade, Torque, and Why It's the Better Long-Term Choice
Yes, a riveted ball joint can be replaced with a bolt-on. Bolt-on replacement ball joints are designed to replace riveted originals using the same mounting holes, provided the replacement is specified for the application.
Use the bolts, nuts, and washers supplied with the bolt-on replacement. If reusing OE-style hardware, use the grade specified by the replacement manufacturer—do not substitute lower-grade fasteners. Apply the torque specified by the replacement ball joint manufacturer for the mounting bolts; do not guess or reuse rivet-hole torque values. Rivets are single-use fasteners; re-riveting requires a rivet gun and correct rivet size, and is not a hand-tool operation for most DIYers.
Bolt-on conversion eliminates the rivet problem on the next service—the next replacement is a simple unbolt/bolt-on job. For rust-prone areas, this is the single most effective way to improve future serviceability.
Press-In Ball Joints: Tool Requirements, Rental vs. Purchase, and the DIY-vs-Shop Decision
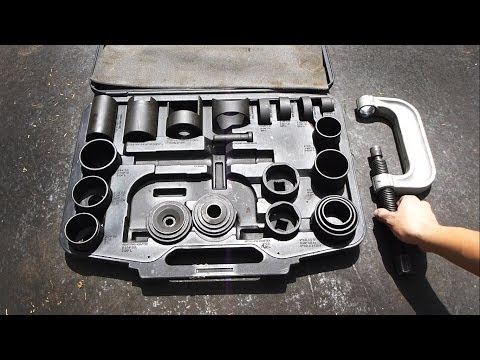
Press-in joints need a hydraulic press or a ball joint press tool kit (C-frame or cup-style) to push the old joint out and the new one in. Many auto parts stores rent ball joint press kits, which lowers the DIY entry cost but still requires correct cup sizing and alignment.
A ball joint press kit is a one-time cost that pays back over multiple jobs; a hydraulic shop press is a larger investment for frequent work. If the control arm must be removed and the bore is corroded or damaged, a shop with a press and alignment capability may be the safer choice. Pressing a joint in crooked or with the wrong cup can damage the control arm bore or the new joint; dry-fit and align before applying force.
Rust, Corrosion, and Future Serviceability: How Mounting Type Changes the Next Repair
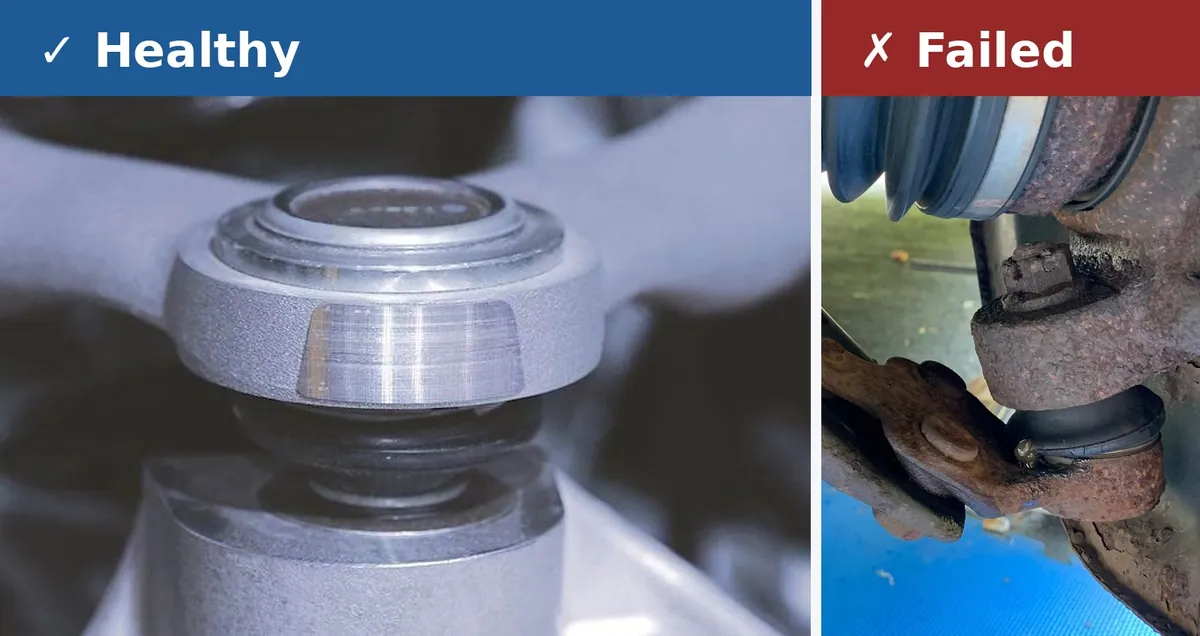
Corrosion behaves differently on each mounting type and changes both removal difficulty today and serviceability next time. Press-in: corrosion between the joint body and the control arm bore can seize the joint, requiring more press force or heat; a corroded bore may need cleaning or arm replacement. Bolt-on: corrosion attacks the bolt threads and heads, but the fasteners are accessible and replaceable; anti-seize on threads can ease future removal. Riveted: rivet heads corrode and can become rounded or weakened, making drilling or grinding less predictable; the rivet holes themselves can corrode and elongate.
Bolt-on is the easiest to service next time; press-in depends on bore condition; riveted is the hardest and most likely to damage the arm on removal. Apply anti-seize to bolt-on hardware and protect exposed surfaces; avoid heat on press-in and riveted joints to preserve arm integrity.
Alignment After Ball Joint Replacement: Why It's Non-Negotiable for Every Mounting Type
Replacing a ball joint disturbs the suspension geometry, even if the new joint is dimensionally identical; toe, camber, and caster can shift. Driving without an alignment can cause rapid, uneven tire wear and handling instability. Misalignment can cause pulling, off-center steering, and vague response.
Get the alignment immediately after replacement, before driving any significant distance. Alignment is a small cost relative to the job and is the difference between a correct repair and a comeback.
Which Replacement Type Should You Choose? A Decision Checklist
Riveted: convert to bolt-on unless the vehicle is a restoration where factory rivets are required; never re-rivet for a daily driver. Press-in: stay press-in if the control arm bore is clean and a press or press kit is available; otherwise consider a shop. Bolt-on: replace with bolt-on using new hardware and correct torque; this is the simplest and most serviceable route. Corrosion: in rust-prone areas, prioritize bolt-on conversion for future serviceability. Alignment: schedule it immediately after any replacement, no exceptions.
Press-In vs Bolt-On vs Riveted: At-a-Glance Comparison
| | Press-In | Bolt-On | Riveted |
|---|---|---|---|
| Attachment method | Interference fit in control arm bore | 2–4 bolts fasten joint to arm | 3–4 factory rivets |
| Removal tools | Ball joint press or hydraulic press | Sockets and ratchet (hand tools) | Drill, grinder, or chisel |
| DIY difficulty | High — press and correct cups needed | Low — straightforward hand-tool job | High — arm damage risk |
| Future serviceability | Depends on bore condition | Excellent — unbolt and replace | Poor — repeat drilling risks the arm |
| Best choice when | Bore is clean and a press is available | Always the simplest route | Convert to bolt-on at next service |
Frequently Asked Questions
How do I tell whether my ball joint is press-in, bolt-on, or riveted?
Wire-brush the joint area and look: a bare cylindrical body flush in the arm bore means press-in; hex or Torx bolt heads mean bolt-on; smooth domed heads with no hex mean factory rivets. Confirm with the vehicle's year, make, model, and engine before ordering parts.
Can a riveted ball joint be replaced with a bolt-on?
Yes. Bolt-on replacement joints are designed to use the same mounting holes as the original rivets. Use the hardware supplied with the replacement and the manufacturer's torque specification — never re-rivet a daily driver.
Do I need a wheel alignment after replacing a ball joint?
Yes. Any ball joint replacement disturbs toe, camber, and caster geometry. Schedule an alignment immediately after the job to avoid rapid tire wear and handling problems.
Should I replace just the ball joint or the whole control arm?
If the arm's bushings are worn, the bore is corroded, or labor time matters, a complete control arm assembly with a pre-installed joint is often the better value for shops. Replace the joint alone only when the arm itself is in good condition.
What tools do I need for a press-in ball joint?
A ball joint press kit (C-frame with the correct cups) or a hydraulic shop press. Many parts stores rent press kits. Using the wrong cup size or pressing at an angle can damage the arm bore or the new joint.
---
Related