Suspension Bushing Replacement: Material Selection and Installation Techniques
Replacing worn suspension bushings yourself can save 50-70% compared to professional labor, but success hinges on two critical factors: choosing the right bushing material and using proper removal/installation techniques. This guide provides the technical knowledge to make informed decisions and execute the job correctly.
Diagnosing Worn Bushings: Visual and Performance Clues
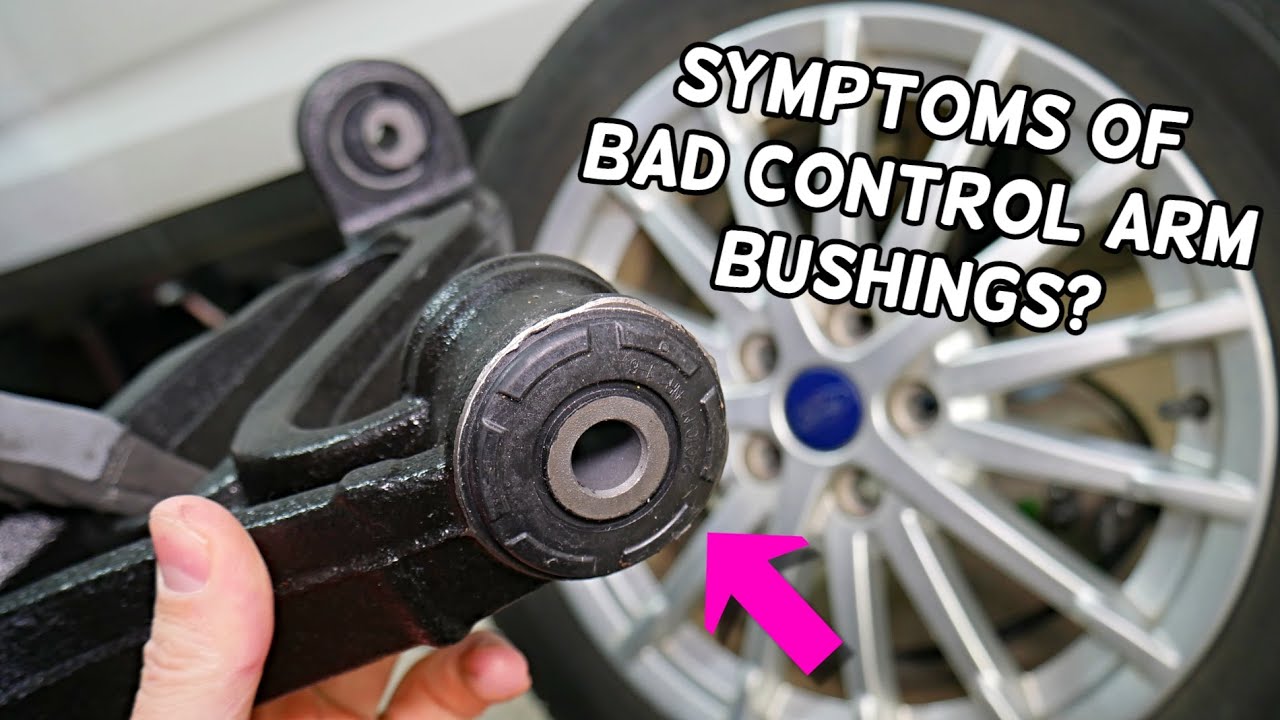
Before diving into replacement, confirm the bushings are actually the culprit. Look for cracks, tears, or sagging in rubber bushings—deep cracks or missing chunks mean replacement is overdue. Performance symptoms include clunking over bumps, vague steering, and uneven tire wear. To test, pry on the bushing with a large screwdriver or pry bar; if it moves more than a few millimeters, it's worn. Also, check for fluid leaks from hydraulic bushings, which indicate failure.
Choosing the Right Bushing Material: Rubber, Polyurethane, or Spherical
Your driving needs and comfort preferences dictate the material. Rubber bushings offer OEM comfort and noise isolation but wear faster and provide less performance. Polyurethane bushings improve handling and durability but transmit more road noise and can squeak without proper lubrication. Spherical bushings (heim joints) provide maximum performance with zero deflection but are harsh, expensive, and unsuitable for street use. For most daily drivers, high-quality rubber or polyurethane is ideal. Choose polyurethane for performance-oriented builds if you can tolerate a stiffer ride. For specific applications like Hyundai or KIA, consider our [Rear Trailing Arm Bushing](/products/bushing-001) or [Large suspension bushing](/products/bushing-001-2) options.
Essential Tools and Equipment
Gather the necessary tools: a jack, jack stands, lug wrench, socket set, torque wrench, and a bushing press or removal tool. If you don't have a press, you can use DIY methods involving threaded rod, sockets, and a bench vise. For lubrication, use silicone-based grease for rubber bushings and polyurethane-specific grease for poly bushings. Always wear safety glasses and gloves to protect against debris and chemicals.
Step-by-Step Removal Techniques: Press, Cut, or Burn
Removing old bushings safely is crucial to avoid damaging the control arm. With a hydraulic press, support the arm securely, use appropriately sized sockets to push the bushing out, and apply even pressure. Without a press, you can cut the rubber with a saw or torch, then press out the metal shell. Heating the metal housing with a torch expands it, making removal easier—but be careful not to overheat and damage the arm. Common pitfalls include damaging the bore, stripping threads, or causing injury. Always wear protective gear and work in a well-ventilated area.
Step-by-Step Installation Techniques: Pressing, Lubrication, and Alignment
Proper installation ensures bushing longevity and correct suspension geometry. First, clean the housing thoroughly and deburr any sharp edges. Apply anti-seize to the housing to prevent corrosion. Lubricate the bushing according to its material—rubber needs silicone, polyurethane needs special grease. Press the bushing in using a press or DIY tool, ensuring it is square and fully seated. Critical: tighten fasteners only when the suspension is at normal ride height (with the vehicle's weight on the wheels) to avoid preloading the bushings, which causes premature failure.
Torque Specifications and Alignment: Why They Matter
Correct torque and alignment are non-negotiable for bushing life and vehicle safety. Always consult your vehicle's service manual for torque specs—never guess. Incorrect torque can cause bushing tearing, noise, and poor handling. Bushing replacement can affect alignment, so a professional alignment is recommended after the job. Even if you're careful, alignment changes due to suspension geometry shifts. Skipping alignment leads to uneven tire wear and compromised handling.
Common Mistakes and How to Avoid Them
Avoid these frequent errors to ensure a successful replacement:
- Mistake 1: Not cleaning the bore properly. Dirt and rust prevent proper seating and cause premature wear. Clean and deburr thoroughly.
- Mistake 2: Using the wrong lubricant. Using petroleum-based grease on rubber can degrade it. Use the correct type for your bushing material.
- Mistake 3: Pressing the bushing in at an angle. This damages the bushing and housing. Ensure it is square before pressing.
- Mistake 4: Torquing bolts at full droop instead of ride height. This preloads the bushings and leads to early failure. Always torque with the suspension loaded.
Cost Breakdown: DIY vs Professional Replacement
DIY replacement typically costs $50–$200 for parts (bushings) plus tool costs if you don't already own them. Professional replacement costs $200–$500, including parts and labor (usually 2–4 hours). DIY can save 50–70%, but requires time, tools, and confidence. If you lack the necessary tools or experience, going professional is safer. Consider the value of your time and the risk of mistakes. For quality parts, check our [automotive suspension components](/products) for options that fit your vehicle.
Frequently Asked Questions
How long do suspension bushings last?
Rubber bushings typically last 50,000–100,000 miles, but this varies with driving conditions and quality. Polyurethane lasts longer but may require periodic lubrication.
Can I replace bushings without a press?
Yes, you can use DIY methods like threaded rod and sockets, or cut and heat techniques. However, a press makes the job easier and safer.
Do I need an alignment after replacing bushings?
Yes, it's highly recommended. Replacing bushings can alter suspension geometry, leading to uneven tire wear and poor handling if not aligned.
What's the difference between rubber and polyurethane bushings?
Rubber offers comfort and noise isolation but wears faster. Polyurethane provides better handling and durability but is stiffer and may squeak.
Conclusion
Replacing suspension bushings is a rewarding DIY project that saves money and improves vehicle performance. By diagnosing correctly, choosing the right material, and using proper techniques, you can achieve professional results. Remember to follow torque specs, align the vehicle, and avoid common mistakes. For high-quality replacement bushings and control arms, explore our [product range](/products) and learn about our [manufacturing facility](/manufacturing) and [quality control](/quality) processes.